Last updated November 18, 2026
Free written scope consultation - allowances, timeline, and change-order rules on paper before a single trade is scheduled
DIY vs Professional Driveway & Pavers: What’s Safe to Do Yourself
A homeowner can lay beautiful pavers in a weekend. The base those pavers need – properly graded, compacted to 95% proctor density, with the right aggregate depth for vehicle loads – typically requires equipment a rental yard doesn’t carry and judgment that comes from watching a failed base let go two summers later. In Hialeah, where afternoon downpours test every driveway drain line, the gap between a base that holds and one that caves shows up fast. This guide draws a hard, honest line between what you can safely own and what belongs to a licensed contractor, and it’s written from a Hialeah driveway we’ve stood over more than once.
Styles & brands we work with
- Kitchen remodeling
- Bathroom remodeling
- Home additions & ADU
- Roofing
- Windows & doors
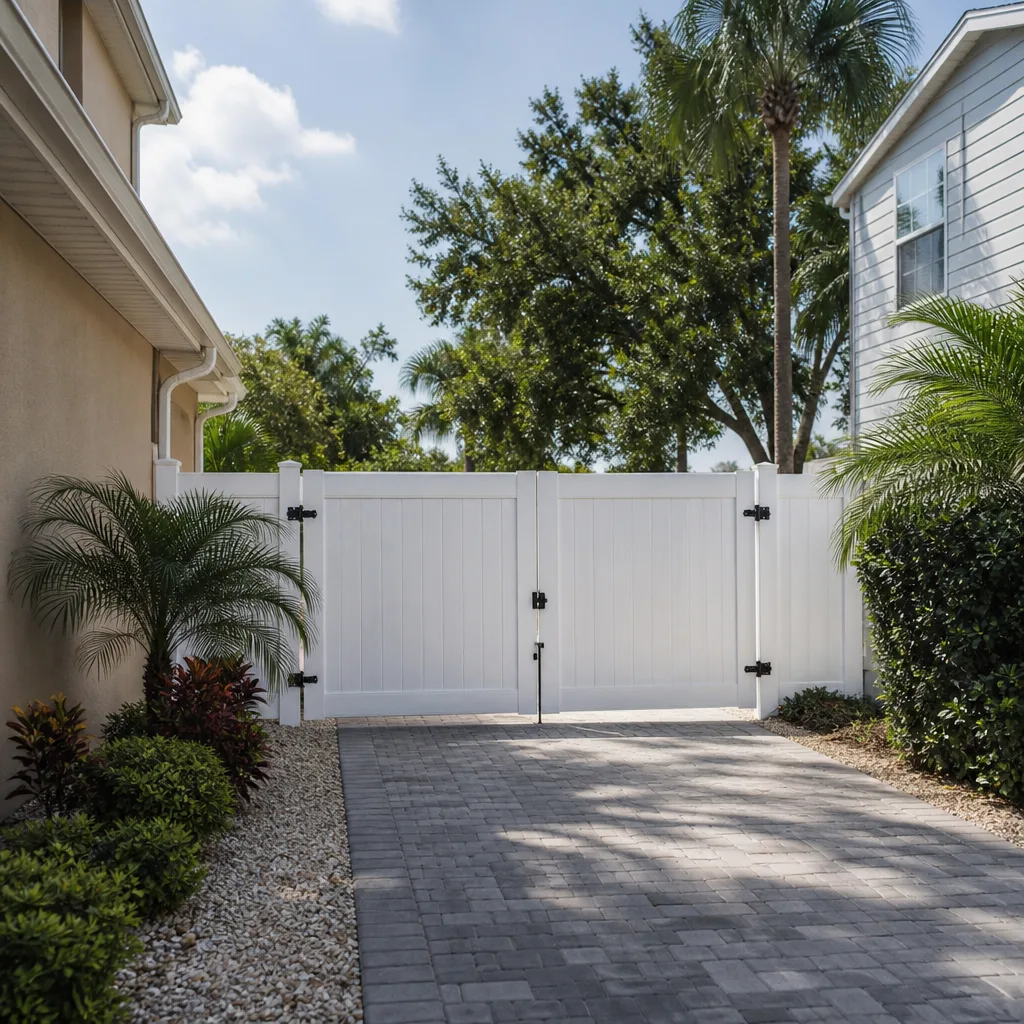
- Driveway & pavers
- Fence
Quick Answer
Pattern design, joint sand top-up, sealer application, and re-setting individual stones are safe DIY work for most homeowners. Base excavation, subgrade compaction to 95% proctor density, aggregate placement, and edge restraint installation are the jobs that require a licensed contractor, because they carry the load of your vehicles and the drainage of your property. A hybrid approach – hiring a pro for base and edging, then joining the crew for the paver-laying phase – is the legitimate way to cut labor cost without gambling the whole project.
Table of Contents
- What You Can Safely Do Yourself
- Why the Base Under Your Pavers Decides Everything
- The Equipment Professional Crews Actually Use
- Do You Need a Permit for This in Hialeah?
- Real Cost Comparison: DIY vs Hiring a Contractor
- The Hybrid Approach That Actually Works
- How a Licensed Crew Handles the Work
- Common Mistakes to Avoid
- When to Call a Professional
- Frequently Asked Questions
- The Bottom Line
What You Can Safely Do Yourself
Not everything on a paver project is dangerous or beyond a handy homeowner. Several phases are genuinely DIY-safe, and they’re also the phases where a homeowner’s own taste and time produce real value. Knowing which is which saves money without risking the structural integrity of a driveway that carries two-ton vehicles every day.
The tasks we’ve seen homeowners handle well:
- Paver pattern design. Herringbone, running bond, basketweave, and the exact color blend are aesthetic calls. You know the look you want for your home, and picking it online or at a supplier showroom is free.
- Re-setting individual stones. If one paver has rocked loose from settling, lifting it, cleaning the bedding sand, and re-seating it is a 20-minute job with a pry bar and a rubber mallet.
- Joint sand top-up. Polymeric sand wears down over time, especially after Hialeah’s rainy season. Refilling the joints annually keeps the pavers locked together and stops weeds.
- Sealer application. Once the surface is clean and dry, rolling on or spraying a penetrating sealer is straightforward, and it protects against UV fading that intense Hialeah sun accelerates.
- Weed pulling and light sweeping. Simple maintenance that keeps the surface looking sharp.
These are maintenance tasks, not construction. They preserve a well-built driveway. They don’t build one. When we talk about the “safe to do yourself” list, this is the entire list. Everything below it that involves soil, gravel, compaction, or edges is where a licensed crew earns the fee.
Why the Base Under Your Pavers Decides Everything
The visible paver is a wear surface. The base beneath it is the foundation, and it’s what makes the difference between a driveway that lasts 5 years and one that lasts 25. Every YouTube tutorial focuses on laying pattern. Almost none cover what happens in the 8 to 12 inches below the surface, which is where the actual engineering lives.
Here’s what a proper base involves:
- Excavation to the correct depth. A driveway that will carry cars needs 6 to 8 inches of compacted aggregate base plus 1 inch of bedding sand. That means excavating 10 to 12 inches of native soil. For a two-car Hialeah driveway, you’re hauling out 12 to 18 cubic yards of dirt by hand if you go at it yourself.
- Subgrade preparation. The native soil needs grading, proof-rolling to reveal soft spots, and possibly stabilization. Hialeah’s water table runs high in summer, and clay-heavy sections of the city hold water for days after a storm. A soft subgrade means the base moves under load, and every paver above it shifts.
- Aggregate placement in lifts. Base material – typically #57 stone or a graded crushed aggregate – is installed in 4-inch lifts and compacted between each lift. You can’t dump 8 inches at once; the bottom won’t reach proper density.
- Compaction to 95% of maximum dry density. This is the specification most tutorials never mention. Standard Proctor density testing measures how densely the soil packs. Below 95%, the base has voids that will collapse under traffic. A plate compactor rented for a weekend reaches nowhere near the density a full roller produces.
- Grading to a 2% slope for drainage. Water needs a path off the driveway and away from the house. If the paver surface tilts toward the garage door, water backs in during a Hialeah summer thunderstorm. We’ve seen this failures repeatedly, and the fix involves tearing out pavers to re-grade the base.
- Edge restraint. The perimeter holds the pavers against lateral creep. Without it, the pattern walks outward season by season.
Every one of these is a professional step. None are covered thoroughly in the popular tutorials, and each is non-negotiable if the driveway is going to survive Hialeah’s rainy season without rutting, sinking, or ponding.
The Equipment Professional Crews Actually Use
This is where the DIY case usually collapses. The compactors available at most rental yards are not the ones that compact a driveway to specification. A homeowner can rent a plate compactor for a day for around $80 to $100 in the Hialeah area. A licensed crew brings a walk-behind vibratory roller that weighs ten times as much and delivers compaction that meets density testing.
Here’s the tool comparison for a two-car driveway:
- Homeowner version: hand shovel, wheelbarrow, rented plate compactor, rented plate saw, hand tamper for edges. Works for a patio or walkway up to about 200 square feet.
- Professional version: mini-excavator, walk-behind vibratory roller, plate compactor, wet saw, laser level, plate tamper for edges, water tank for cutting dust, hauling truck for spoil removal. This is the fleet a full driveway requires.
The plate compactor rental itself is fine. The problem is that a plate compactor compacts the top 2 to 3 inches of material. If you’ve placed aggregate in a single 8-inch lift, the bottom 5 inches of that lift never reaches density. A crew knows to work in lifts, and they have a machine heavy enough to actually do it. Rental equipment is not built for full driveways, full stop. The load path of a 4,000-pound SUV travels through those lower inches, and voids under the surface create the rutting you see a year later.
Hialeah’s specific soil conditions make this worse. Parts of the city sit on limestone that drains well, but clay-heavy pockets hold water and need better drainage design. Oldcastle aggregate placed in those pockets in one loose lift is a driveway that will fail before the pavers do. A contractor who reads the site’s soil and grades accordingly is worth the equipment premium.
Do You Need a Permit for This in Hialeah?
Permit requirements vary, so this needs a disclaimer: the exact rules for your property come from Hialeah’s building department, and you should confirm with them before starting. But the general framework in Miami-Dade affects whether a DIY driveway is legally compliant at all, and that’s the piece most homeowners miss.
A driveway is a paved surface in the public right-of-way or an easement in many cases. It connects to a public street, which means it’s regulated by the municipality and often by the county. Common triggers for a permit:
- New driveway aprons connecting to the public street.
- Driveway widening or a change in the curb cut.
- Drainage changes that affect how water moves off your property onto a neighbor’s or the street.
- Driveways in flood zones, which cover much of Hialeah.
If a permit is required and you go at it yourself, the work still needs to pass inspection. That means you’re the general contractor on your own project, responsible for the grading plan, the compaction spec, and the final sign-off. Passing a compaction inspection without density testing equipment is essentially impossible – an inspector checks documentation, and without a contractor recording the proctor results, there’s nothing to show.
Beyond the permit itself, there’s the compliance question. A driveway built without the required permit can become a problem when you sell, when a neighbor files a complaint, or when stormwater drainage issues surface. Insurance carriers in South Florida have gotten pickier about unpermitted site work. Our team pulls the permits and handles the inspections because the paperwork is as much a part of a durable driveway as the aggregate is.
Real Cost Comparison: DIY vs Hiring a Contractor
This is where the DIY math usually loses. The rental, the material waste from learning curve, and – most importantly – the cost of correcting a failed base later usually eat the savings. Here’s a realistic breakdown for a two-car driveway in the Hialeah market, roughly 500 to 700 square feet.
| Line item | DIY (estimated) | Professional (estimated) |
|---|---|---|
| Paver material (Techo-Bloc or Cambridge, mid-range) | $2,800 – $4,200 | $2,800 – $4,200 |
| Base aggregate and bedding sand | $500 – $800 | Included |
| Equipment rental (excavator, roller, saw, compactor) | $900 – $1,400 | Included in labor |
| Dumpster and spoil removal | $400 – $700 | Included |
| Labor (contractor crew or your weekends) | Free but 4 to 8 weekends | $2,500 – $4,500 |
| Permit and inspection | $200 – $500 (if you pull it) | Included |
| Material waste from learning curve (10 – 15% typical) | $300 – $600 | Minimal – order is precise |
| Estimated total | $5,100 – $8,200 | $5,300 – $8,700 |
Notice the totals land close. The DIY savings disappear once the rental, the dumpster, the permit, and the learning-curve waste are tallied. But the number that isn’t in the table is the failed-base correction. Re-excavating and re-laying a driveway that sank or rutted can run another 60 to 80 percent of the original project cost. A failed DIY base is a driveway you pay for twice.
The other thing that doesn’t appear in the DIY column is time. If your weekends are worth anything to you, four to eight of them is real money. And if the project drags on into Hialeah’s rainy season, the excavation sits open and vulnerable to rain-soaked soil, which means the base you finally compact is built on a soft subgrade that didn’t exist when you started. The economics of DIY only work when the base is sound. When it isn’t, the savings vanish and the headache grows.
The Hybrid Approach That Actually Works
There’s a legitimate middle path many homeowners in Hialeah should be asking about. It works because it draws the line where the skill line actually is. A licensed crew handles the base, edges, and permit. You or your family handle the paver laying, or the crew lays paver and you handle the cleanup and the sealer. This reduces labor cost without gambling on the part that fails.
The hybrid structure:
- Hire a pro for excavation, base, compaction, and edge restraint. This is 40 to 50 percent of the labor budget, and 100 percent of the failure risk. Let the crew that owns the roller and reads the site’s soil take this on.
- Hire the pro to grade and set the screed. The final bedding sand layer needs to be level and at the right slope before any paver goes down. Get the base finished and verified.
- Participate in the paver-laying phase. With the base prepared, laying pavers becomes a rhythm task. Many contractors will let you supply your own help for this phase, working alongside their crew, so the pattern is set correctly and the joints are done right, but you contribute the handling labor.
- Handle the sealer and cleanup. Once laid and sanded, sealing is a task you can do yourself after the crew’s work is complete.
The point of the hybrid approach is honesty. It doesn’t pretend a homeowner can lay a base. It doesn’t pretend the labor savings don’t matter. It prices each phase at its actual risk level and lets you choose where to contribute. Our team will quote a base-and-edging package separately from a full-install package for any Hialeah project, and the numbers are different. That distinction matters if you’re trying to bring a driveway in on budget without cutting corners. Before or alongside the paver quote, homeowners often want their property line sorted at the same time – a driveway and a fence installation in Hialeah frequently get scheduled back-to-back, and the crew can coordinate the grading so the fence footings and the paver base don’t fight each other.
How a Licensed Crew Handles the Work
When we start a driveway & pavers project in Hialeah, the workflow is predictable because we’ve refined it over a lot of driveways. A few of the specifics homeowners ask about most:
We start with the site inspection. Soil conditions, drainage, and any existing utilities come first. Everything after depends on those. Then excavation to the specified depth for the vehicle load – usually 10 to 12 inches for a car driveway, more if heavy vehicles use it. We bring a walk-behind roller for compaction and take compaction seriously enough to document it. Then we install base in lifts, compact each one, cut the pavers to pattern, install the edge restraint, fill the joints with polymeric sand, and seal.
The materials matter too. Cambridge Pavers and Techo-Bloc are both lines we regularly install in Hialeah because both meet the load ratings a driveway needs and both come in color blends that hold up to the city’s UV exposure. Oldcastle aggregate backs the base. Quikrete polymeric joint sand makes the joints. The brand matters less than the base, but we want the brand to be a known quantity.
Everything we build on a driveway and paver project is covered by our 730-Day Done Right Promise – if it isn’t done right, we make it right. That’s the longest workmanship guarantee we know of in the residential construction space, and it covers base issues as well as surface. Our technicians arrive in uniform, they’re background-checked, and every job is covered under our written workmanship warranty. The pricing is upfront and the number you see is the number you pay, with no change orders once work begins. For large projects, we offer 0% financing for 18 months and $1,000 off projects over $10,000. Our phone is answered by a live person 24/7, so you’re never routed to voicemail when it matters.
If you’re weighing the same trade-off for a kitchen or bath while planning the driveway, it’s the same logic we apply across all our services – which is why the same crew model shows up across our Driveway & Pavers in Hialeah and Home Additions & ADU in Hialeah pages. Every trade has its version of “this is the part you can’t shortcut,” and knowing which part it is, is the whole game.
Common Mistakes to Avoid
- Skipping compaction density testing. A plate compactor at the surface does not compact the base the way it needs to be compacted. If you can’t measure density, you can’t confirm the driveway will hold load.
- Single-lift aggregate placement. Dumping 8 inches of gravel and running a compactor over the top leaves the bottom loose. The base settles under a car and the pavers above it rut.
- Grading flat toward the house. Hialeah’s summer storms drop 2 to 4 inches in an afternoon. If the driveway slopes toward your garage, that water is going in your garage. A 2% slope away from the structure is not optional.
- No edge restraint. Pavers creep outward without a hard plastic or concrete edge. You see the spread at the driveway street edge first, then the whole surface starts to walk.
- Cutting pavers wet with no protection. Silica dust and stone dust from a dry cut can be a real health issue. Wet-cutting is standard and reduces the risk.
- Starting in the rainy season without a drainage plan. Excavation that sits open during a Hialeah summer thunderstorm fills with water, and the subgrade loses its integrity. Time the excavation for a dry spell or cover it properly.
- Underestimating material waste. The learning curve on your first 500-square-foot driveway typically runs 10 to 15% material waste. That’s $300 to $600 you didn’t budget for.
When to Call a Professional
There are a few clear breakpoints. If the work involves excavation, base, compaction, edge restraint, permit-covered drainage, or anything that affects how water moves across your property, call a licensed contractor. If your driveway connects to a public street or sits in a flood zone – which covers a lot of Hialeah – call before you pick up a shovel. If your home is on clay-heavy soil, or if any part of the driveway slopes toward the house, call for a site assessment. If you’re not certain whether the work needs a permit, call. All of these are the scenarios where the DIY savings evaporate.
Groundwork Construction Co. of Hialeah offers free estimates in Hialeah – call (888) 418-7102. We’ll walk the property, quote a base-and-edging package separately from a full install if you want the hybrid approach, and tell you honestly which parts you can own and which parts you can’t. Our technicians have up to 12 years of experience and arrive in uniform. If you’re planning a driveway alongside other projects, our team also handles Fence Installation in Hialeah – worth scheduling in the same assessment so the grading is coordinated and the two projects don’t fight each other. You can start at our Groundwork Construction Co. of Hialeah home page to see every service line, or call us directly to schedule the assessment.
Frequently Asked Questions
You can lay the pavers themselves, but you cannot safely build the base they sit on without professional equipment and compaction testing. Most homeowners who try a full DIY driveway see the paver pattern hold up for a year or two, then the base settles, ruts appear, and the driveway has to come out. If you want to participate in the labor, the hybrid approach – pro does the base, you help with the paver-laying phase – is the legitimate version.
The base under the pavers. A proper base requires excavation to 10 to 12 inches, aggregate placed in lifts, compaction to 95% of maximum dry density, and a 2% drainage grade. That specification is what determines whether the driveway lasts 5 years or 25. The paver surface is the same in either case. Everything gets decided beneath it.
A two-car driveway in Hialeah typically runs from the low $5,000s to the high $8,000s depending on paver brand, size, and site prep needs. Mid-range Techo-Bloc or Cambridge Pavers on a straightforward 500 to 700 square foot driveway usually land in the $6,000 to $8,000 range fully installed. Base prep needs, drainage corrections, and permit fees are what shift the number most. Call (888) 418-7102 for a specific quote on your property – estimates are free.
Often yes, and the rules depend on your specific property. Common triggers are a new driveway apron at the street, widening the driveway, changing the curb cut, altering drainage that affects the public way, or working in a flood zone – and much of Hialeah is in flood zones. Confirm with Hialeah’s building department before starting. Our team pulls the permits and handles the inspections for any project we quote.
Usually not. Homeowner’s insurance typically covers sudden damage like a tree falling on the driveway, not gradual settling or a failed base from improper construction. A DIY base failure is generally a homeowner cost. This is one of the reasons the cost comparison in this guide matters – a failed driveway means paying for the whole job twice.
A properly constructed paver driveway typically lasts 25 to 30 years before needing major restoration. A DIY driveway with a compromised base usually shows rutting or shifting within 3 to 7 years. Hialeah’s rainy season accelerates the failure rate – the more water the base sees, the faster a poorly compacted subgrade moves. The 730-Day Done Right Promise on Groundwork workmanship is 730 days on top of that base, and if anything goes wrong in that window we make it right.
Yes. Sealing is one of the clearly safe DIY tasks on this list. The pavers need to be clean and completely dry, and the sealer should be a penetrating type rather than a topical film that traps moisture. After a Hialeah rainy season, joints should be topped up with polymeric sand before sealing. Call (888) 418-7102 if you want our team to review your sealer choice – estimates are free.
The Bottom Line
You can absolutely design a beautiful paver pattern, top up joint sand, re-set a loose stone, and seal your own driveway. Those are safe, satisfying tasks that keep a good driveway good. You can’t safely build the base underneath without equipment a rental yard doesn’t stock and density testing a plate compactor can’t deliver. That base carries the load of every car you own, and it determines whether Hialeah’s summer storms drain off the surface or sink into it. The smartest version of DIY on a driveway is the hybrid – licensed crew for the base, edges, and permit, and you contribute to the labor where it’s actually safe. Groundwork Construction Co. of Hialeah has a 730-Day Done Right Promise on workmanship, upfront pricing with no surprises, 0% financing for 18 months, and $1,000 off projects over $10,000. Call (888) 418-7102 to schedule your free estimate and design consult, and we’ll walk you through exactly which parts of the project you can own.
Written by the team at Groundwork Construction Co. of Hialeah.
See the difference
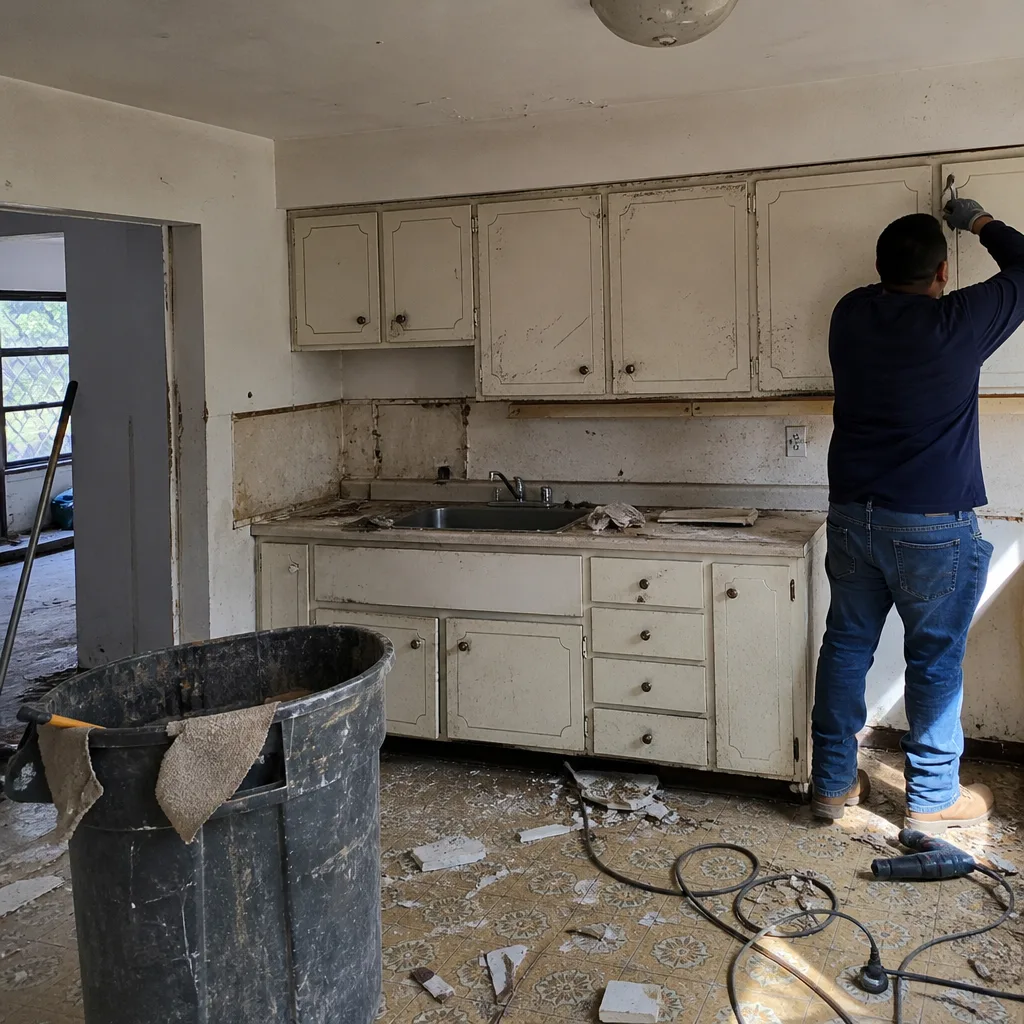
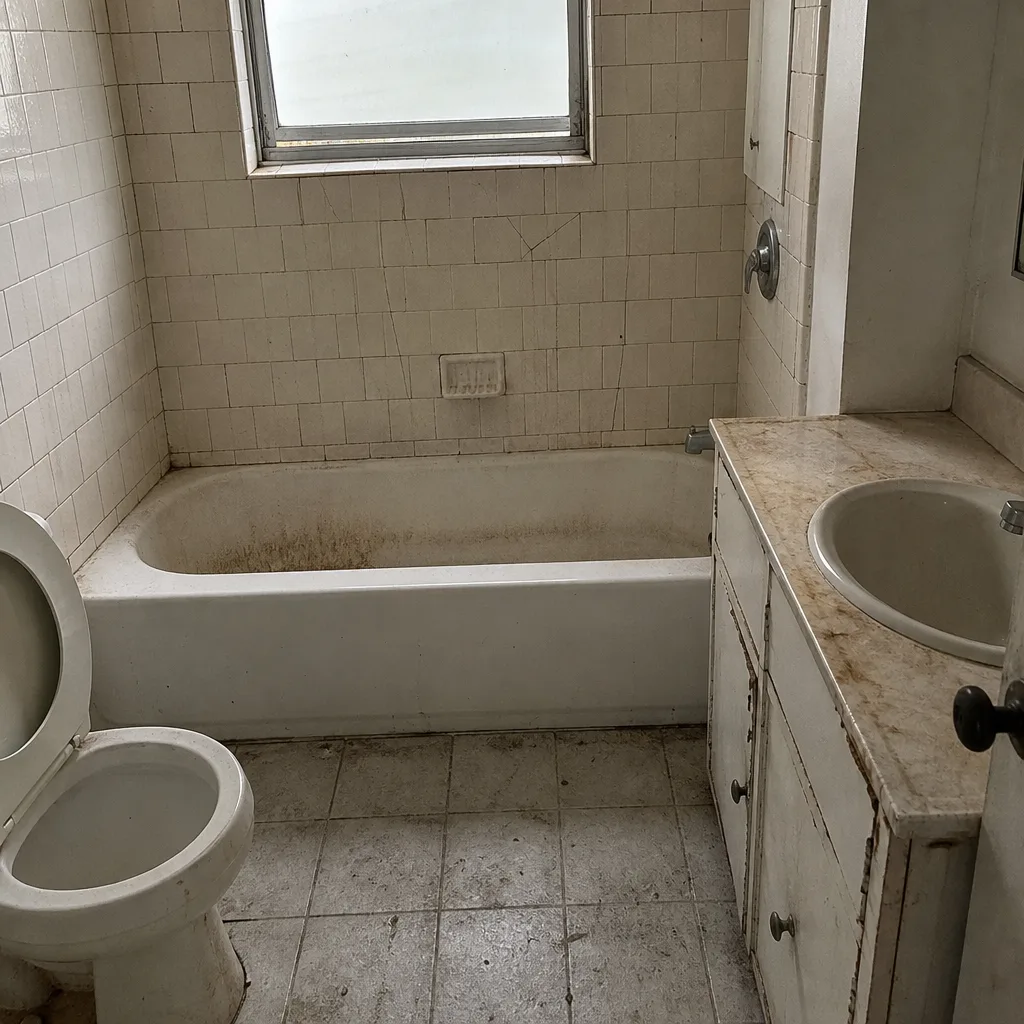 Before
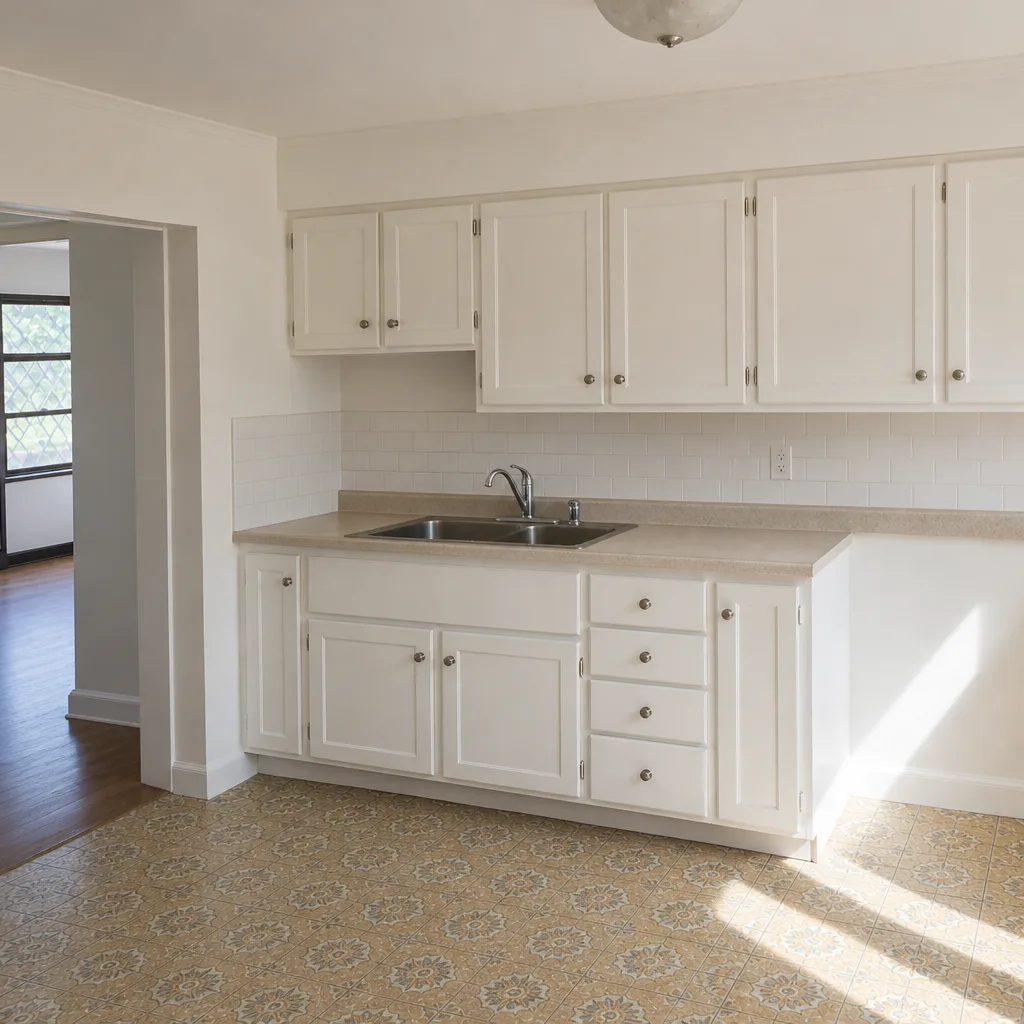
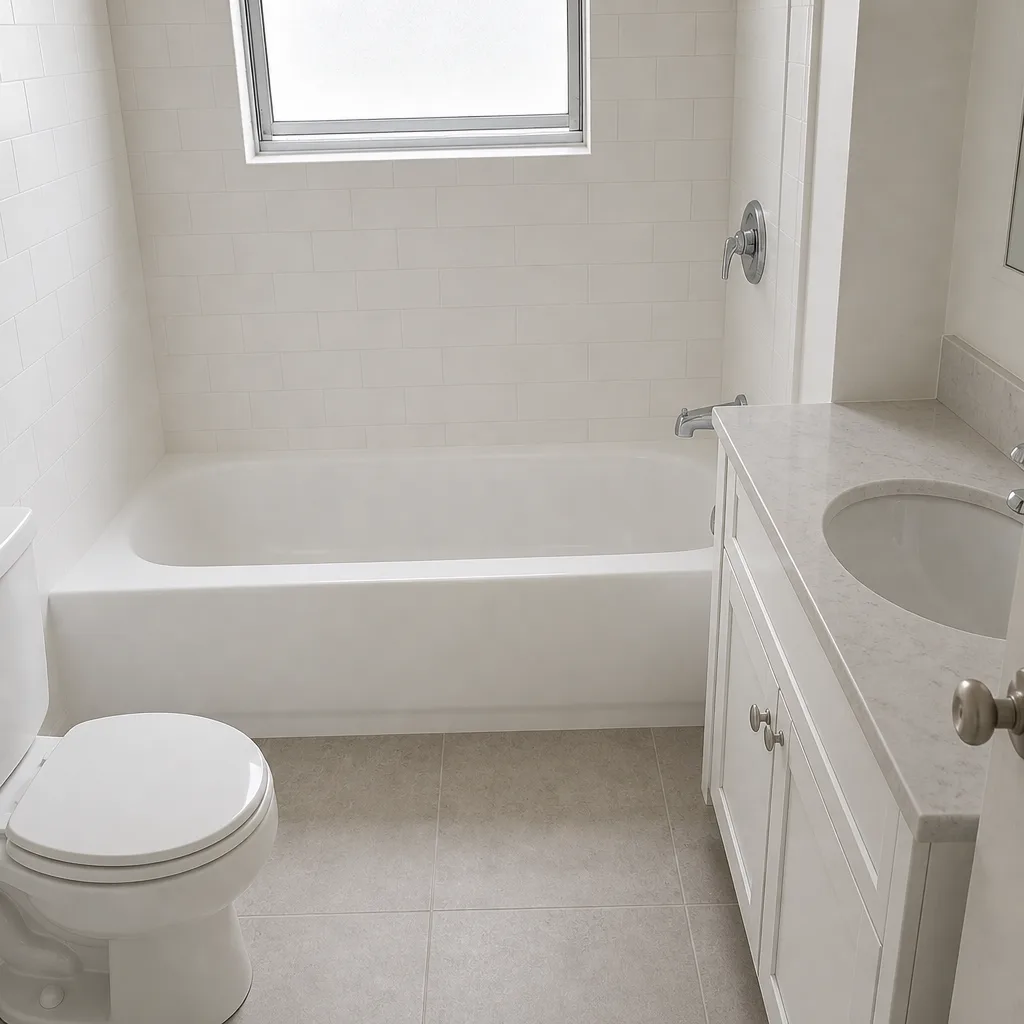 After
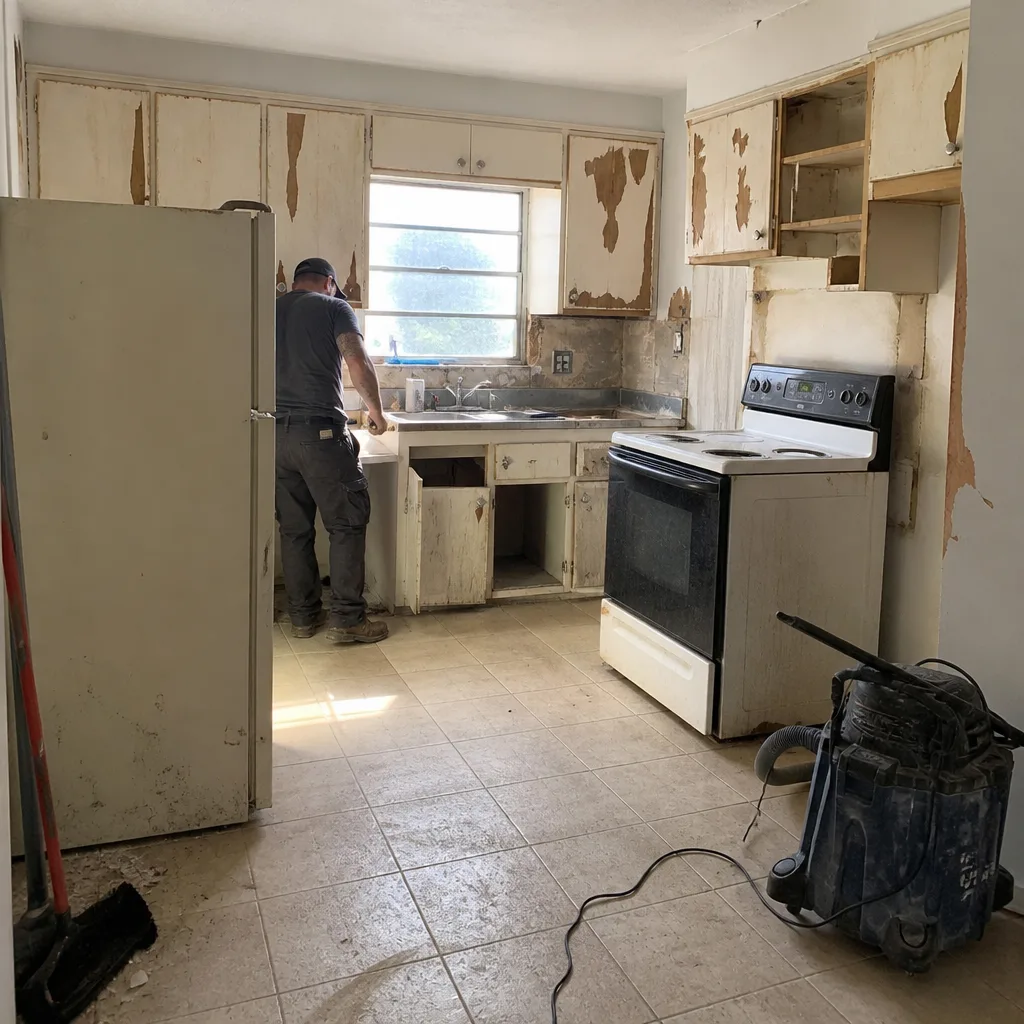 Before
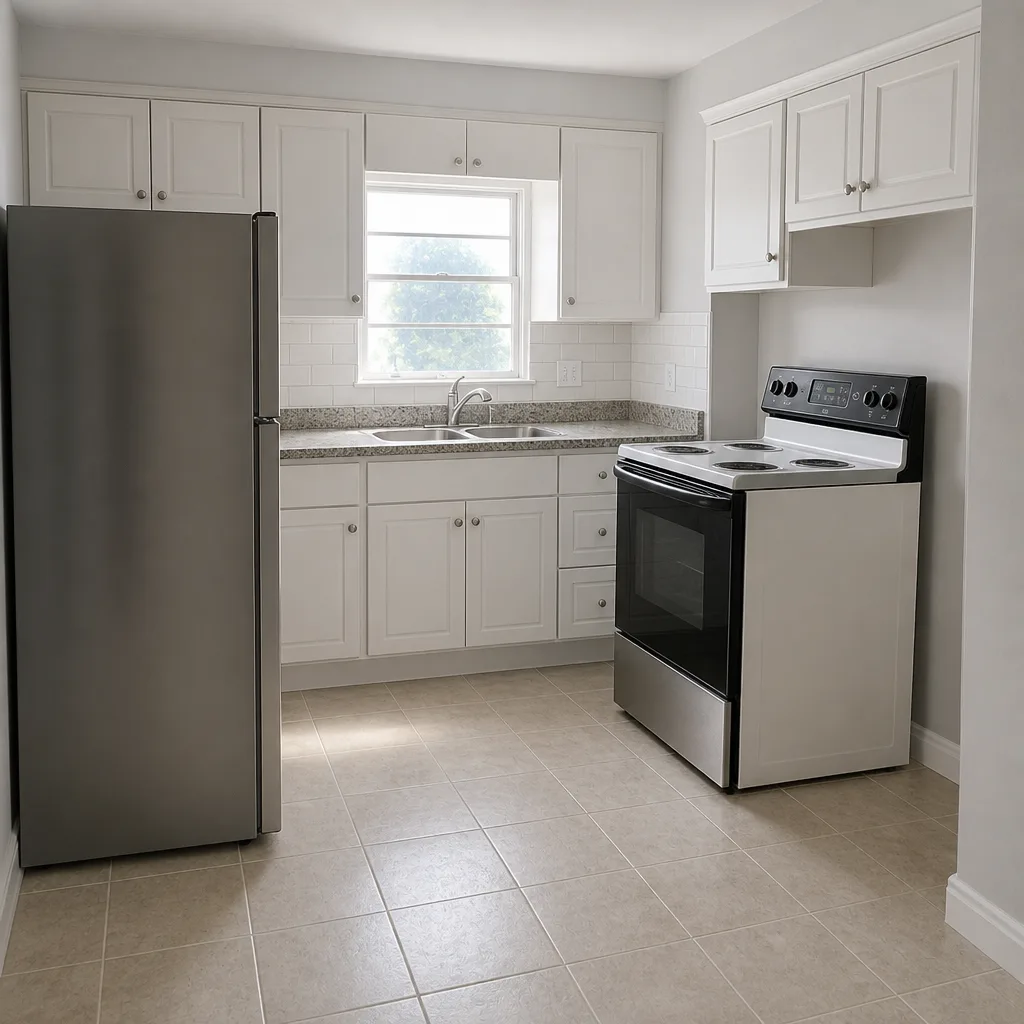 After
 Before
 After