Last updated November 18, 2026


Free written scope consultation - allowances, timeline, and change-order rules on paper before a single trade is scheduled
Driveway & Pavers Warning Signs Every Homeowner Should Know
A single rocking paver isn’t a rocking paver problem. It’s a drainage or base compaction problem wearing a paver’s face. Fix just that one paver and you’ll be re-fixing it inside 18 months, because the actual cause never went anywhere. We’ve watched this exact scenario play out across Hialeah driveways more times than we can count, and the pattern almost always starts small. This guide teaches you the vocabulary your driveway is already speaking: the visual and structural signals that sort into “monitor this,” “you can fix that yourself,” and “call a contractor today before this gets expensive.” Read it once and you’ll see your driveway differently.
Quick Answer
Driveway paver warning signs fall into five tiers: cosmetic wear (monitor), joint failure (DIY fixable), isolated settling (patch repair), widespread settlement (professional assessment), and drainage failure (structural intervention you shouldn’t delay). The single biggest red flag is edge pavers failing before any other section, since that almost always points to missing or failed edge restraints. Ant mounds, pop-ups in summer heat, and water pooling each tell you something specific about what’s happening underneath, and catching them at the right tier saves thousands in Hialeah’s climate.
Styles & brands we work with
- Kitchen remodeling
- Bathroom remodeling
- Home additions & ADU
- Roofing
- Windows & doors
- Driveway & pavers
- Fence
Table of Contents
- The Five-Tier Warning System: When to Watch, Fix, or Call
- Why Edge Pavers Fail First (And Why It’s a Systemic Problem)
- Active vs Historical Drainage Failure: How to Tell the Difference
- What Ant Mound Locations Reveal About Base Voids
- Paver Pop-Ups in South Florida Heat and the Bedding Sand Test
- Joint Failure: The One Warning Sign You Can Genuinely Fix Yourself
- Hialeah-Specific Patterns: Soil, Rain, and What We See Here
- A Step-by-Step Annual Driveway Inspection You Can Do in 20 Minutes
The Five-Tier Warning System: When to Watch, Fix, or Call
Most homeowner panic comes from not knowing which category a problem belongs to. A hairline crack and a sunken driveway edge look like the same “damage,” but one costs you a bag of sand and the other needs a crew. Sorting warning signs into five tiers removes the guesswork. Here’s how we grade them, and what each one actually means.
Tier 1 – Cosmetic. Faded color, light surface staining, a scuffed sealer. None of this affects structure. Watch it, plan a cleaning and reseal every few years, and move on.
Tier 2 – Joint failure. The sand between pavers has washed out or settled, leaving open gaps. This one you can correct yourself with fresh polymeric sand after a proper cleaning. Left alone for seasons, though, open joints become the entry point for tier 3.
Tier 3 – Isolated settling. One paver or a small cluster rocks or sits a quarter-inch low. This is a patch repair. Lift the affected units, re-level the bedding, relay, and re-sand. The key word is isolated.
Tier 4 – Widespread settlement. Multiple areas across the driveway have dropped, heaved, or gone out of plane. The pattern, not any single paver, is the signal. This needs a professional assessment, because a patch won’t hold when the base underneath is moving as a system.
Tier 5 – Drainage failure. Water is pooling against the house, sheeting toward the garage, or standing on the surface after rain clears. This is a structural intervention. Groundwater undermining a base turns a relay job into a base-rebuild job, and delay multiplies the cost.
In Hialeah, tier 2 to tier 3 progression is fast because of the wet season. Four months of heavy afternoon rain is patient with nothing. A joint that opens in May is a sunken paver by October if it’s not re-sanded. If you want the full picture of what professional repair and installation look like, our Driveway & Pavers in Hialeah page walks through the process.
Why Edge Pavers Fail First (And Why It’s a Systemic Problem)
If your driveway’s outer row of pavers is the first place you see movement, do not treat it as a spot fix. Edge pavers failing before the interior almost always means the edge restraints (the hidden border of concrete or aluminum that holds the whole field in place) have broken, shifted, or were never installed correctly. Restraints do one job: they stop the pavers from spreading outward under load and water pressure. When they fail, the entire field becomes a slow landslide that starts at the border.
We’ve seen this constantly in Hialeah, where driveways meet grass, shell, or swale at the property line. During a wet-season downpour, the swale runs and the soil beside the driveway softens. A restraint that was already weak, or absent, lets the edge creep outward a millimeter at a time. Then the interior starts to follow.
Here’s how to check your own edge restraints:
- Walk the full perimeter of your driveway. Look for pavers that sit proud of the concrete or grass border, or a visible gap between the last paver and the ground beside it.
- Press down on the outermost row with your foot. Any rock or give here is a red flag, because edge pavers should be locked tight by the restraint.
- Look for the restraint itself. On a properly built driveway you’ll see a low concrete curb or metal edging pinning the border. If there’s nothing but soil meeting the pavers, there’s a problem.
- Check for spalling or a crack running along the border concrete. A broken restraint doesn’t hold anything.
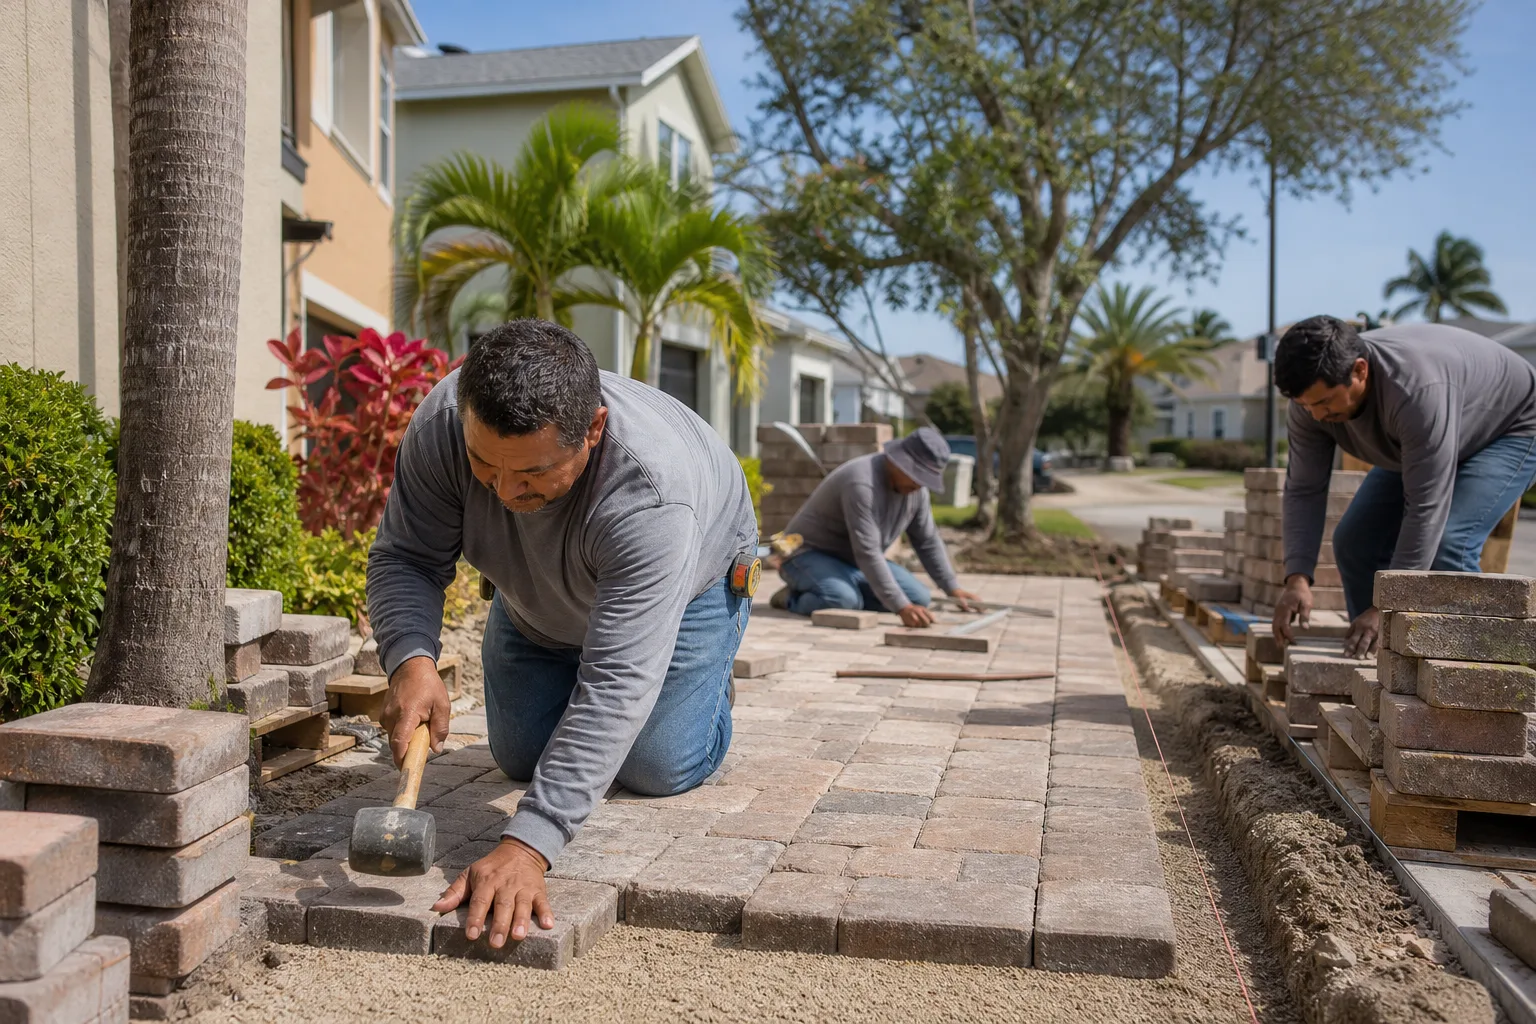
Why it matters: relaying one loose edge paver without restoring the restraint is like nailing a fence board to nothing. It’ll look fixed and then move again. Real repair means excavating along the edge, resetting or replacing the restraint, compacting the base, and relaying that section. This is exactly the kind of work that separates a genuine repair from a cosmetic touch-up, and our team handles it as part of full driveway work. If your fencing border sits along the same property line, the same restraint logic applies to posts and gates, which is why we treat fences and driveways as neighbors in the ground; see our Fence Installation in Hialeah page for how post footings and edge restraints interact.
Active vs Historical Drainage Failure: How to Tell the Difference
Not all water damage is happening right now. Some of what you see is the scar of a past problem that got fixed or stopped. Telling active from historical drainage failure changes everything about urgency, and it’s the distinction almost every homeowner misses.
Historical drainage failure leaves evidence but no current movement. You’ll see a rust stain or a dark, settled area where water used to sit, but the surface is stable, joints are intact, and nothing is wet after a dry spell. The soil under a driveway that drained poorly years ago can show staining without still being a live problem. Monitor it, but don’t panic.
Active drainage failure is current. The signs:
- Water still standing on the driveway 24+ hours after rain clears.
- A visible slope or channel where water is actively cutting across the surface toward the house or garage.
- Wet or spongy soil at the driveway edge long after everything else has dried.
- New settlement following each heavy rain, tracked with a straightedge or level.
- Efflorescence (white mineral powder) appearing fresh after wet periods, which means water is moving through right now.
The test itself is simple. After a downpour, watch where the water goes for the next 24 hours. If it’s still pooling or flowing on day two, that’s active. If it all drains within a few hours and the surface is dry, whatever you’re seeing is likely historical.
Hialeah’s water table and flat terrain make this distinction critical. There’s very little natural slope to move water away, so a driveway graded slightly wrong or a swale that’s been filled in will pond. On clay-heavy soil especially, standing water softens the base slowly, and a base that softens loses compaction. That’s how an active drainage problem becomes a widespread settlement problem in a couple of seasons. When we assess a Hialeah driveway, we look at where the roof drains, the yard grade, and the street swale together, because water doesn’t respect property lines. If your project also touches how the house sits on the lot, our Home Additions & ADU in Hialeah team coordinates grading and drainage as part of the bigger picture.
What Ant Mound Locations Reveal About Base Voids
Ants don’t build where the ground is solid. They build where there’s a void, a cavity, or loose, uncompacted soil they can move through easily. That single fact turns ant mounds from a nuisance into an early-warning instrument. The locations of the mounds map the locations of developing base voids before the surface shows any visible movement.
Fire ants in South Florida are relentless, and they’ll exploit any gap in a driveway’s substructure. A void under pavers is prime real estate: protected from rain, easy to excavate, and warm. So when you see mounds, read them like an X-ray.
- Mounds along the edge: the classic sign of a failed or missing edge restraint letting soil and sand escape, opening a cavity.
- Mounds in a line across the drive: often a trench or utility line under the pavers where backfill wasn’t compacted, leaving a soft channel.
- Mounds clustered low on a slope: the low point is where water collects, erodes the base, and invites ants in.
- Mounds near a joint that keeps washing out: the sand loss is feeding a void.
What makes this valuable is the timing. Ants reach a void weeks before you’ll feel a paver rock, because they can move through spaces your foot can’t detect. Treating the surface paver that eventually rocks, without addressing the void underneath, means the ants come back and the paver moves again. The real repair is opening that section, clearing the cavity, re-compacting with proper base material, and relaying. On a Hialeah property, we also look at what’s happening at the property line, since ants and mounds cross fences easily. If you’re already managing the perimeter, our fence installation guide covers how to treat fence lines without inviting the next colony in.
Paver Pop-Ups in South Florida Heat and the Bedding Sand Test
A “paver pop-up” is when a paver or short row lifts and tilts, sometimes dramatically, in a matter of days. It’s most common after a stretch of dry heat followed by heavy rain, and in South Florida the cycle of scorching sun and afternoon deluge makes it a regular occurrence. When homeowners see it, the instinct is to knock the paver flat and move on. That’s the wrong move, because a pop-up is a message about bedding sand depth and base condition, not a random glitch.
Here’s what’s usually happening. A paver needs a consistent, compacted sand layer (typically about an inch) over a properly graded base. If the original bedding sand was too thin, unevenly spread, or has washed away at a joint, the paver loses support. Heat expands the pavers, water lubricates the joints, and a paver with nothing solid beneath it can lift free. Pop-ups often cluster in areas where the base was never compacted properly in the first place, which is why one pop-up should make you suspicious of the section around it.
The bedding sand test tells you whether nearby pavers are at risk. Follow these steps, carefully:
- Pick the joint next to a stable paver that hasn’t moved and is set firmly, not a loose one. Use a stiff putty knife or a driver.
- Gently rake open a small section of the joint and look at what’s below. Deep sand (close to an inch) that’s compacted is a good sign. A thin skim of sand, or loose, sandy soil with no compaction, means the section is at risk.
- Test the surrounding area. Walk the pavers around the pop-up. Any rock or give within a two-row radius means the problem is spreading, not isolated.
- Before you re-lay anything, check the surface slope. If the popped paver was in a low spot, water is part of the cause, and re-laying it flat will produce the same failure next summer.
For a true pop-up, the repair is usually to remove the affected pavers, inspect and restore the bedding and base, and re-set. On a Hialeah driveway, where heat and rain alternate aggressively, patching without fixing the bedding means the pop-up returns with the next wet season. Proper repair with quality materials, backed by our 730-Day Done Right Promise, is the difference between fixing it once and re-fixing it forever. If you want to see what full-scope construction work looks like around the house, our Groundwork Construction Co. of Hialeah home page lays out every service line.
Joint Failure: The One Warning Sign You Can Genuinely Fix Yourself
Joint failure is the rare warning sign where a homeowner can and should take action, because the stakes are low and the fix is real. The joints between pavers are filled with sand, and that sand is the only thing locking the entire surface together. When it washes out or settles, the pavers lose their interlock. That’s when they start to shift, and shifting pavers open gaps that let even more water and sand escape. It compounds fast.
You’ll know it’s joint failure when you can see open gaps (roughly a finger’s width or more) or when the joint sand sits visibly lower than the paver surface. Compare it to the cosmetic tier: a joint that looks a little worn but is still full is a monitor item. A joint you can push a fingertip into is a fix-it-now item.
The fix, in order:
- Clean the joints thoroughly with a stiff broom and a hose, working out old sand, debris, and any weeds. Let the driveway dry completely.
- Re-fill with a high-quality polymeric joint sand, sweeping it into the joints and compacting as you go.
- Mist with water per the sand manufacturer’s instructions to activate the polymeric binding, then let it cure.
- Inspect the edges while you’re at it. If edge joints are opening, the restraint is the actual problem, and that jumps you to tier 4 or 5.
One honest caveat: if you re-sand the joints and they open again within a few months, the problem isn’t the sand. That’s a sign the base under those pavers is moving and the water is finding a path, and no amount of new sand will fix moving ground. That’s when a professional assessment saves you money. Joint sand is meant to be replenished; moving pavers are not.
Hialeah-Specific Patterns: Soil, Rain, and What We See Here
Some of what we see in Hialeah driveways is universal to pavers everywhere. Much of it is specific to this city’s soil and weather, and knowing the local patterns helps you read your own driveway. Here’s what we find across Hialeah neighborhoods.
Wet season is the testing ground. From roughly May through October, Hialeah gets consistent afternoon downpours. A driveway that looks perfect in February gets its real stress test in July. If you’re buying or assessing a home, look at pavers in the wet months, not the dry ones.
Flat terrain and ponding. There’s very little natural grade to move water, so a driveway that was cut slightly wrong, or a swale that’s been filled or clogged, will pond. Standing water is the number-one driver of base failure we see locally. If your driveway drains slower than your neighbor’s, that’s a signal.
Clay-heavy soil and settlement. The local mix of clay and fill soil expands with water and shrinks when it dries. That seasonal swell and shrink is patient and relentless, and it loosens base compaction over time. A driveway built years ago on minimally compacted clay will settle in the same spots every season, which is why isolated patching often fails there.
Driveway meets swale. Many Hialeah homes have the driveway flowing into the street swale. If the swale doesn’t drain or the street floods during storms, water backs up against the driveway edge. That’s where edge restraints take the most abuse, which is why edge failure is so common here.
Because Hialeah’s local building department applies its own requirements for driveways and paved surfaces, get the permit and inspection questions answered before work starts, not after. Our team pulls permits and gets inspections passed as part of the job. When a driveway failure is part of a larger home addition or ADU project, our Home Additions & ADU in Hialeah page covers how site work, grading, and driveways tie into the plan. Prefab structures like Boxabl or Plant Prefab units are increasingly common in this market, and they still need proper site grading and driveway access to be set right from the start.
A Step-by-Step Annual Driveway Inspection You Can Do in 20 Minutes
You don’t need to wait for a problem to find you. Twenty minutes once a year, ideally right after the last big rain of the wet season, keeps you ahead of every warning sign in this guide. Grab a straightedge or a level, a hose, and your phone for photos.
- Walk the full perimeter. Look for edge pavers sitting proud, gaps at the border, and restraint cracks. Press down on the outer row with your foot. Any give here is a tier 4 signal.
- Scan the surface plane. From the end of the driveway, look down the length at a low angle. You’ll spot dips and humps quickly. Note any that are new since last year.
- Check every joint. Walk the joints looking for open gaps and low sand. Mark the ones you can push a fingertip into. Those get re-sanded.
- Run the water test. Hose down the driveway and watch where the water goes. Note any pooling that stays more than an hour and any flow toward the house or garage. That test is your active-vs-historical read.
- Read the ant mounds. Note the locations of any mounds or trails. Cluster them and compare to the drive’s edges and low points.
- Check for pop-ups and fresh efflorescence. Photograph anything that looks new. Efflorescence that reappears after rain means water is moving right now.
- Compare to last year. The single most useful data is change. A dip that’s the same as last year is likely stable. A dip that’s grown is a live problem.
Do this and you’ll know which tier you’re in. Most years, you’ll be at tier 1 or 2 and can handle it. When the checklist lands you at tier 4 or 5, that’s the moment to call, and the earlier you do, the cheaper the repair. On the technical side, our team builds driveways with quality hardscape brands (Belgard among them) and full-scope construction practices, from foundation to finish line. If you want real numbers instead of guesses, our cost and process guide walks through what a Hialeah driveway project actually involves.
Common Mistakes to Avoid
- Fixing the paver instead of the cause. Relaying a rocking paver without addressing the underlying drainage or base void is the single most expensive mistake. The paver moves again, and this time the surrounding pavers are compromised too.
- Ignoring edge failure because the center looks fine. Edge pavers failing first is a systemic restraint problem, not a spot fix. Patch the edge and the field keeps spreading outward.
- Re-sanding joints without checking water flow. In Hialeah, if the sand washes out within months, water is the cause and new sand just hides the symptom. Check the drainage before you re-sand.
- Treating active drainage failure as historical. Standing water on day two after rain is a live failure. Waiting a season to see if it “goes away” lets water undermine the base.
- Killing ant mounds and stopping there. The mound is a symptom of a void. If you treat the ants but never repair the cavity, the surface will move eventually.
- Knocking a summer pop-up flat. A pop-up means the bedding is thin or missing and the base section around it is suspect. Knocking it back into place produces the same failure next heat cycle.
- Assuming Hialeah clay behaves like sand. Local soil swells and shrinks with the wet season, so a repair that holds on sand may fail on Hialeah’s clay. Look for a contractor who builds for the local ground.
See the difference
 Before
 After
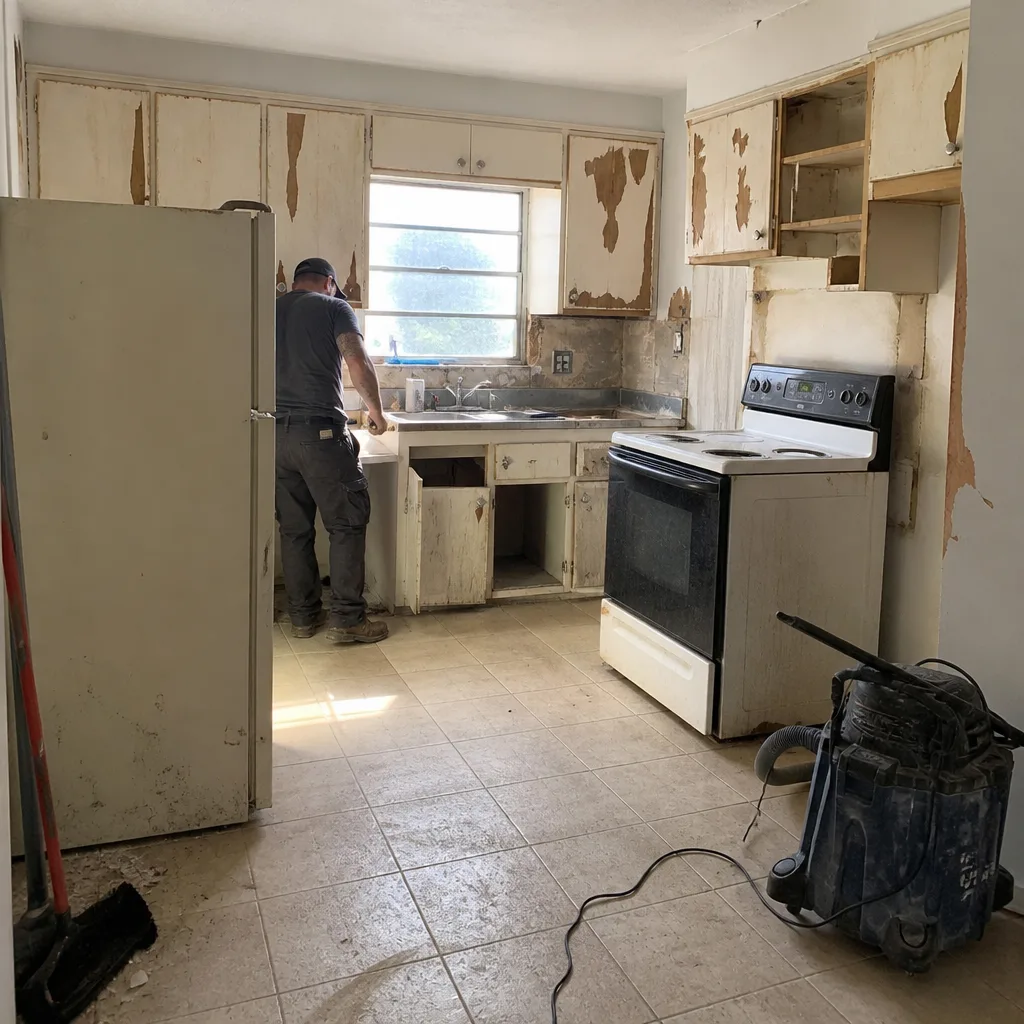 Before
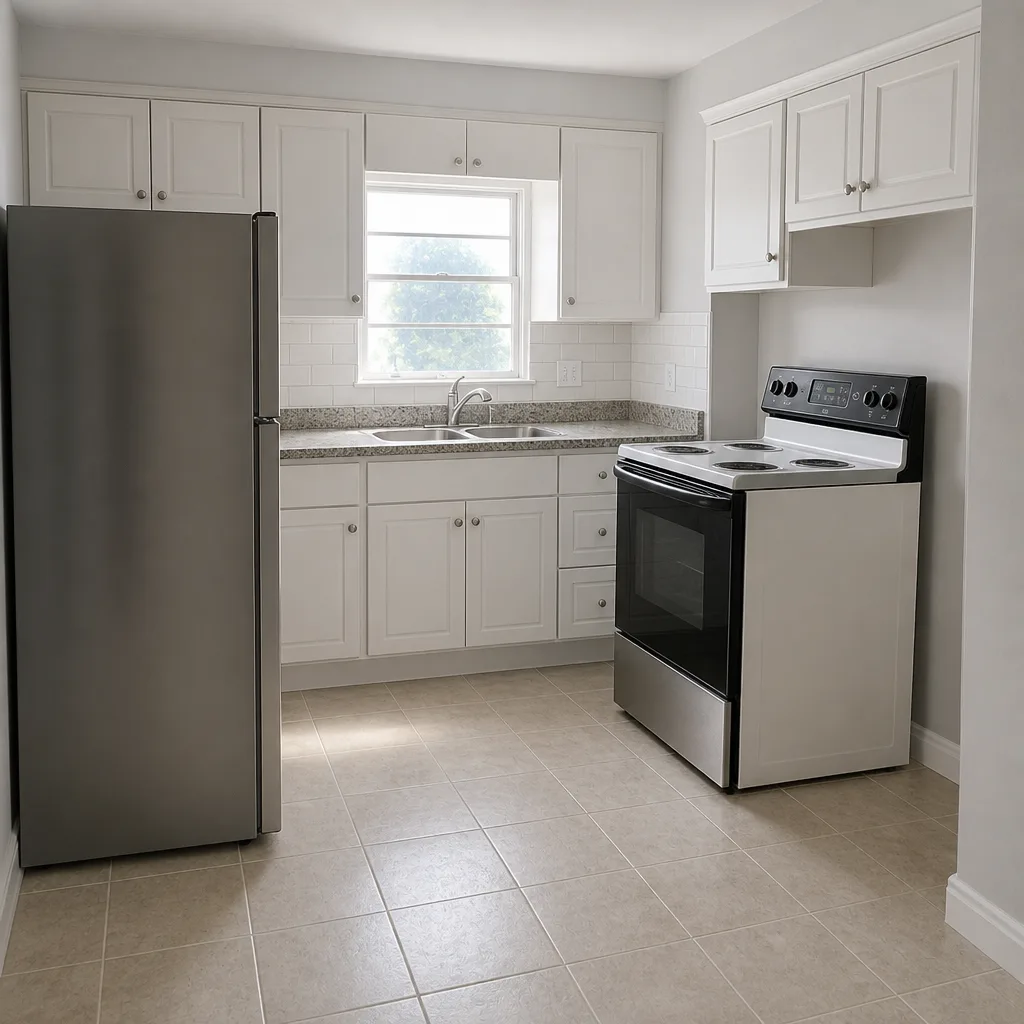 After
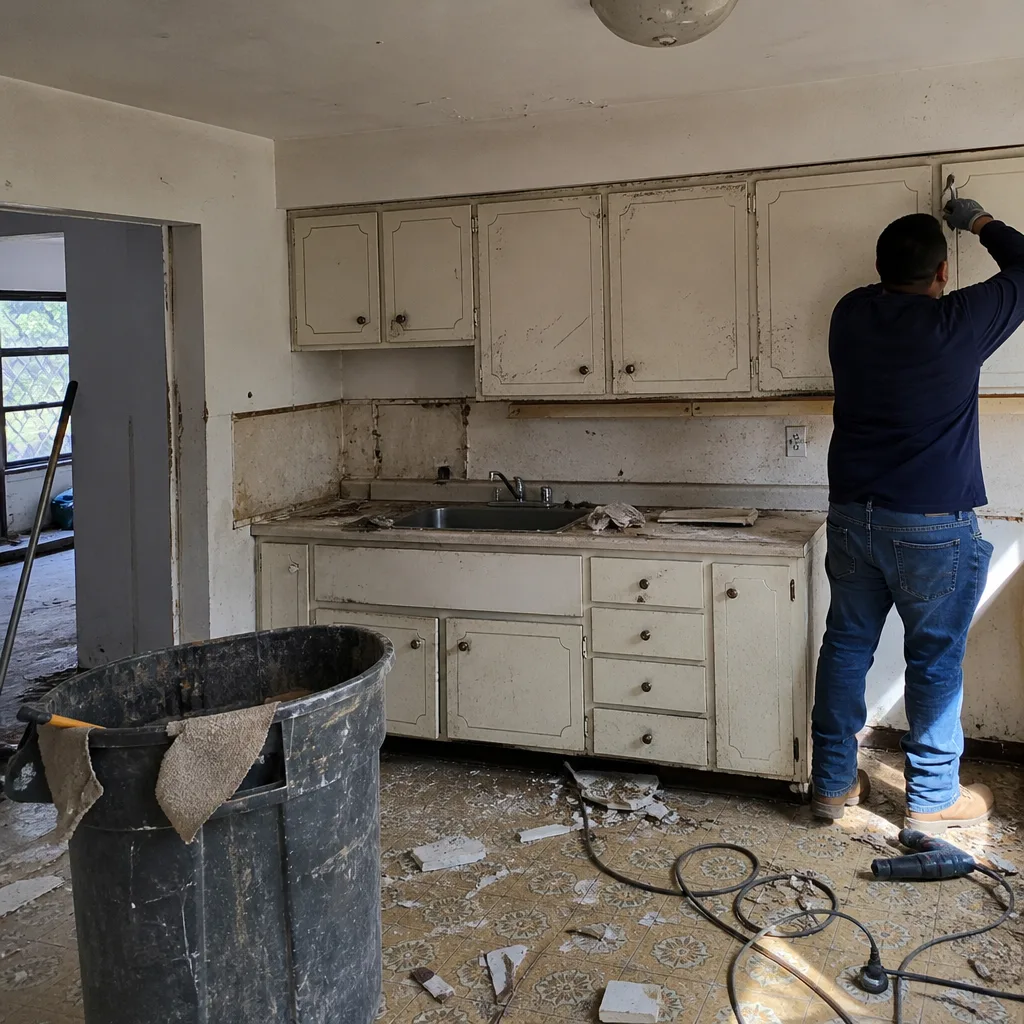 Before
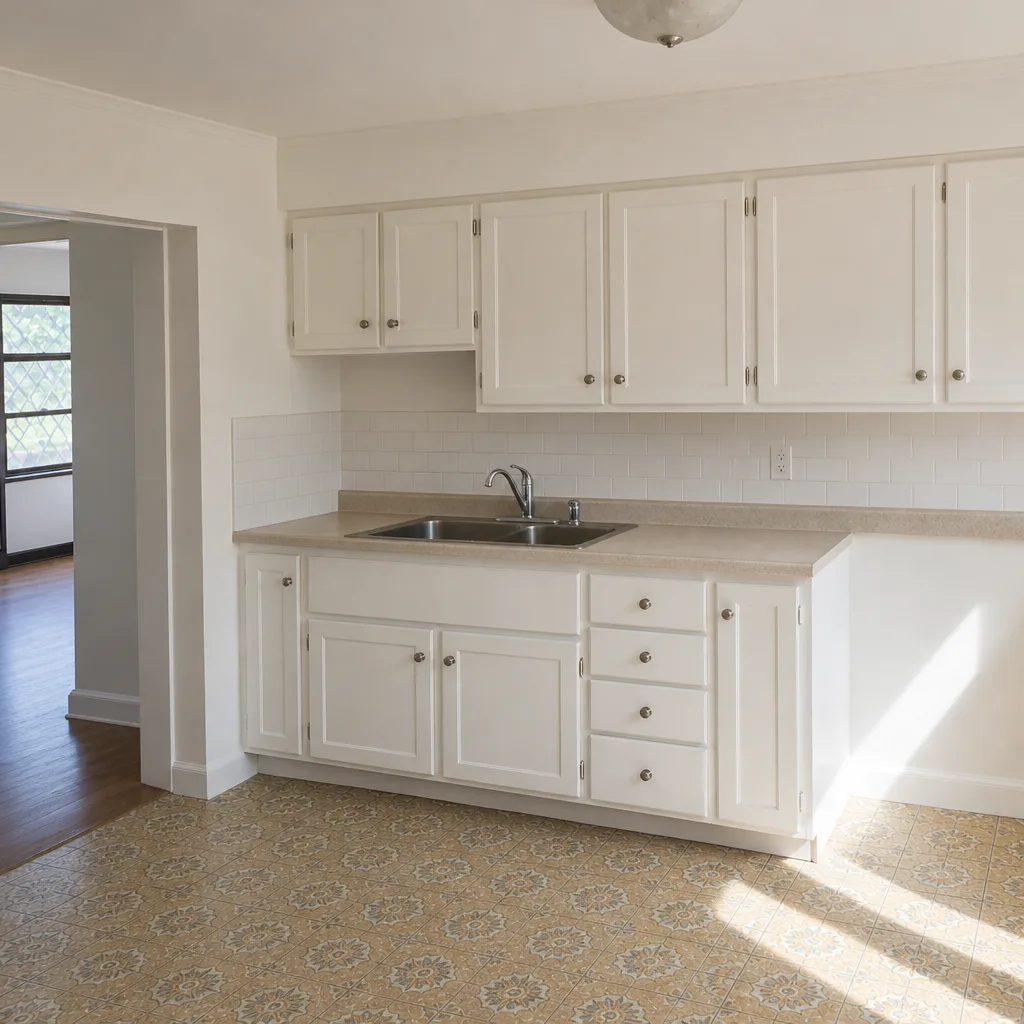 After
When to Call a Professional
Most warning signs in this guide are yours to handle. But call a professional when you find any of the following: edge pavers moving as a group (restraint failure), widespread settlement across the driveway, water standing more than 24 hours after rain, active flow toward your house or garage, or a section of pavers that’s re-washed out twice in a year. Each of these means the base or drainage system is compromised, and a surface patch won’t hold. A proper repair means assessment, base correction, restraint resetting, and re-laying with quality materials, backed by workmanship you can hold someone to. Groundwork Construction Co. of Hialeah offers free estimates in Hialeah – call (888) 418-7102, and a live person answers around the clock. Our technicians have up to 12 years of experience, and every project carries upfront pricing with no surprises and our 730-Day Done Right Promise.
Frequently Asked Questions
Loose or rocking pavers, especially along the driveway edge, are the most common sign. A single rocking paver usually means a drainage or base compaction problem underneath, not a paver that’s just come loose, so fixing only the surface paver tends to fail within about 18 months. Call (888) 418-7102 for a free estimate if you’re seeing this in multiple spots.
Active drainage failure shows water still standing or flowing 24 hours after rain, fresh white mineral powder (efflorescence) appearing after wet spells, and new settlement after each storm. If everything drains within a few hours and the surface dries, what you’re seeing is likely historical, which is a monitor-it item rather than an urgent one. Call (888) 418-7102 if you’re not sure which one you have.
Edge pavers come loose when the edge restraints (concrete or metal borders that hold the field in place) are missing, broken, or shifted. It’s a systemic problem, so relaying one paver without restoring the restraint means it moves again. A proper repair resets the restraint and re-compacts the base along that section. Call (888) 418-7102 to get an assessment.
You can fix joint failure yourself by cleaning out the joints and re-filling with polymeric sand, and that’s genuinely worthwhile. You should not attempt a repair that involves lifting pavers, re-leveling the base, or resetting edge restraints without an assessment, because Hialeah’s clay soil and wet season punish shallow fixes. Call (888) 418-7102 for a free estimate before lifting anything.
A pop-up usually means the original bedding sand was too thin or uneven, or that it has washed out at the joints, leaving a paver without support. Heat expands the pavers, water lubricates the joints, and the unsupported paver lifts. Test the surrounding section with the bedding sand check in this guide. If the neighbors of the popped paver are also loose, call (888) 418-7102 for an estimate.
Yes. Ants build where there’s a void or loose, uncompacted soil, so mound locations map developing base voids before you can feel movement. Mounds clustered along an edge or in a line usually trace a failed restraint or a poorly compacted utility backfill. Treating the ants without repairing the cavity means the surface moves eventually. Call (888) 418-7102 for a free estimate.
The Bottom Line
Your driveway talks, and now you speak the language. Watch for cosmetic wear and open joints (tiers 1 and 2) and handle them yourself. Track isolated settling with annual photos. And the moment you see edge pavers moving as a group, widespread settlement, or water standing a day after rain, treat it as a base-and-drainage problem and call before the surface hides the cost. Ant mounds are a free X-ray of what’s forming underneath, and pop-ups in Hialeah’s heat are your cue to inspect the bedding. Build with quality materials, backed in writing, and a driveway can last decades instead of seasons.
Groundwork Construction Co. of Hialeah offers free estimates across Hialeah and surrounding neighborhoods, with upfront pricing, no surprises, and full-scope work from foundation to finish line. Call (888) 418-7102 to schedule yours. A live person answers 24/7, every technician is background-checked and arrives in uniform, and every project carries our 730-Day Done Right Promise. 0% financing is available for 18 months, and you’ll get $1,000 off projects over $10,000.
Written by the team at Groundwork Construction Co. of Hialeah.