Last updated November 18, 2026

Free written scope consultation - allowances, timeline, and change-order rules on paper before a single trade is scheduled
Driveway & Pavers Troubleshooting: Common Problems and How to Fix Them
If a paver sank within the first two years, the sand layer was almost certainly installed wrong – not because it shifted, but because it was never properly screeded to begin with. The paver didn’t fail; the foundation did. That single distinction explains most of what homeowners call “bad pavers,” and it’s the difference between a repair that lasts and one that comes back every rainy season. In Hialeah, where afternoon downpours saturate the ground and the summer sun bakes the surface, installation quality shows up fast. This guide teaches you to diagnose before you spend. You’ll learn what each symptom actually means, when a fix is worth it, and when it’s a warning sign of a bigger problem underneath.
Quick Answer
Most driveway paver problems trace back to one of five installation mistakes: an insufficient or uneven base, poorly compacted subgrade, wrong joint sand, missing edge restraint, or inadequate drainage. To fix them, you first match the symptom (sinking, rocking, cracking, white haze, or weeds) to its root cause, then repair the cause, not just the surface. Cosmetic issues can be fixed on the surface; structural base failures need the affected section pulled and rebuilt.
Styles & brands we work with
- Kitchen remodeling
- Bathroom remodeling
- Home additions & ADU
- Roofing
- Windows & doors
- Driveway & pavers
- Fence
Table of Contents
- The Symptom-to-Cause Diagnostic Map
- Pavers Sinking: Why It Happens and How to Reset Them
- Rocking Pavers and the Base Layer Problem
- Cracked Pavers: Stress, Traffic, and What It Signals
- Efflorescence: The White Haze That Isn’t Damage
- Weed and Ant Intrusion: Why DIY Sand Makes It Worse
- Cosmetic vs. Structural: How to Tell the Difference
- When to Repair a Section vs. Replace It
The Symptom-to-Cause Diagnostic Map
Every driveway paver failure is a signal, and the symptom tells you which part of the build went wrong. Treat this table like a mechanic’s diagnostic chart: match what you see to what’s underneath, and you’ll know whether you’re looking at a surface fix or a base repair.
- Sinking in a low spot: usually a base that wasn’t deep enough or wasn’t compacted in lifts. The paver drops into a void the sand can’t fill.
- Rocking when you step on one corner: bedding sand has migrated out from under the unit, almost always from poor edge restraint or joint sand washing out.
- Cracks running through a paver: point-load stress from an uneven base, or a paver laid too thin for the traffic it carries.
- White powdery haze on the surface: efflorescence – mineral salts migrating up through the concrete. Cosmetic in most cases, but a clue about moisture movement.
- Weeds sprouting from joints: joint sand too shallow, wrong sand type, or sand that washed out because the joint was never filled to the right depth.
In Hialeah, the pattern skews toward the first two. Our water table sits high in low-lying neighborhoods, and when the base doesn’t drain, it holds moisture instead of shedding it. If you’re seeing multiple symptoms at once, the base is the common thread. A visual walkthrough with a straightedge and a hose will confirm it in minutes.
Pavers Sinking: Why It Happens and How to Reset Them
Sinking pavers almost always point to a base that wasn’t excavated deep enough for Hialeah’s soil conditions or wasn’t compacted in lifts. A proper base goes down in layers of about two to four inches, each one compacted before the next is added. Skip that step, and the whole surface settles unevenly over a season or two. The fix is to reset the affected pavers on a freshly compacted base, not just to lift them and drop sand underneath.
- Mark the boundary. Use chalk or a string line to outline only the sunken section plus one row of pavers on each side. Setting a clean boundary keeps you from disturbing stable sections.
- Lift the pavers and set them aside. Number them or stack them in order so they go back in the same pattern.
- Excavate the base. Remove the bedding sand and dig down to a compacted aggregate base. In Hialeah, that means a base that sheds water, not one that holds it.
- Rebuild in compacted lifts. Add aggregate two to four inches at a time, wet it lightly, and compact each lift with a plate compactor.
- Screed the bedding sand. Use a screed rail to level the sand to a uniform depth – typically about one inch. This is the step that most fails get skipped on.
- Reset and compact. Relay the pavers, sweep joint sand in, and run the plate compactor over the surface with a pad to protect the finish.
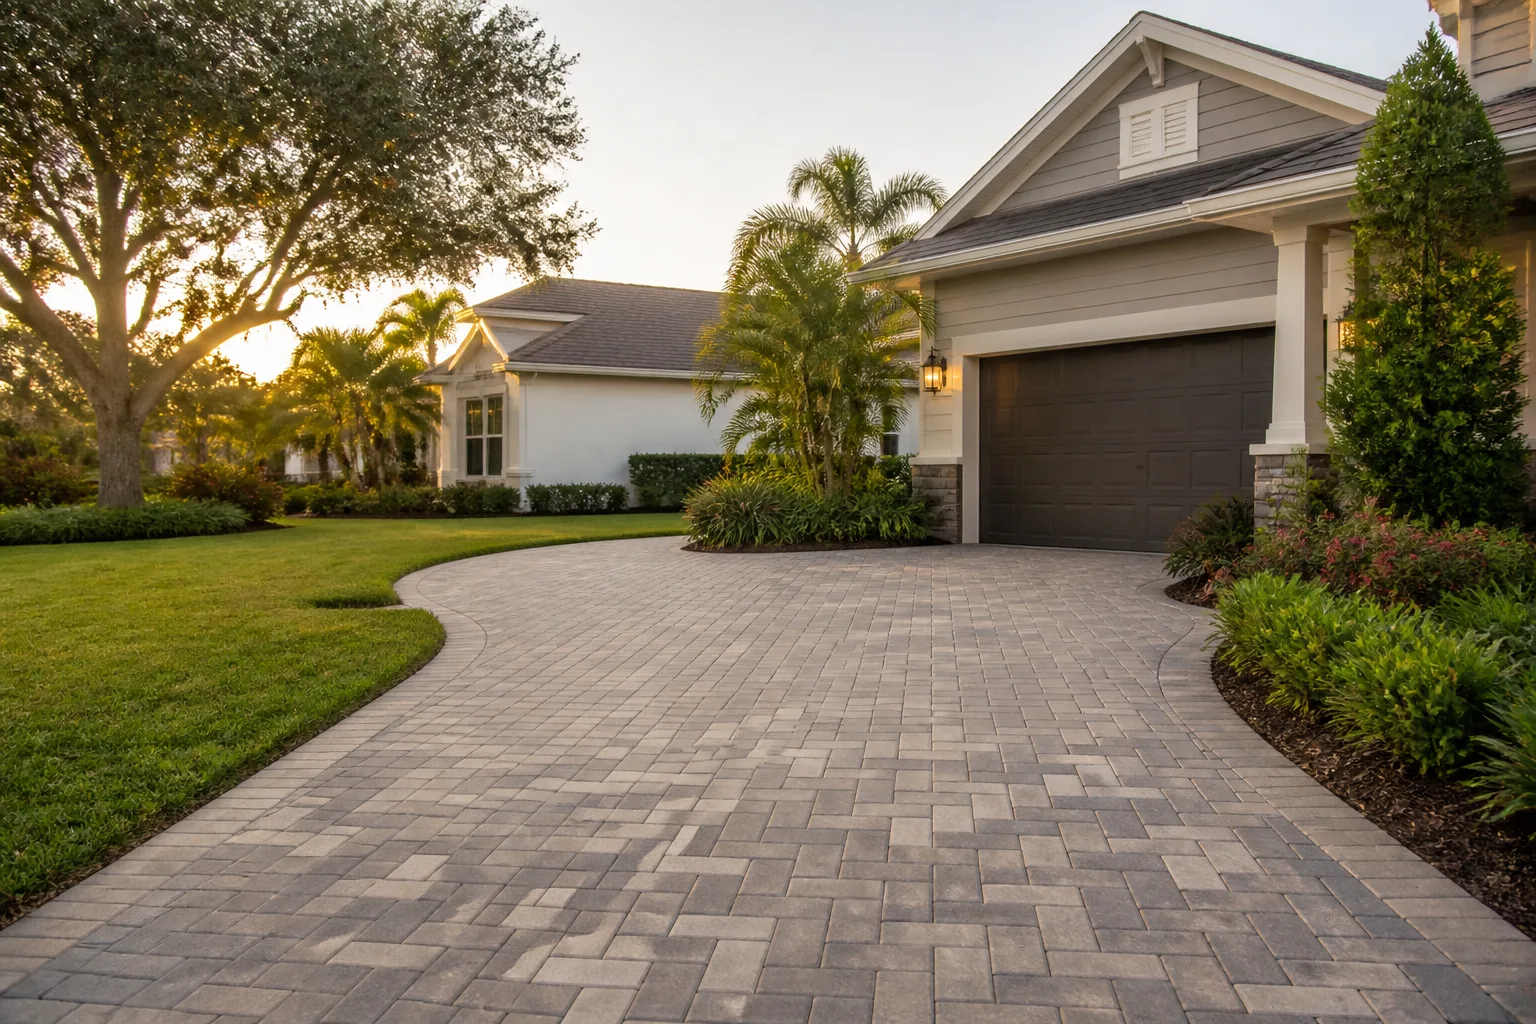
This is the sequence that actually holds. Patch-filling a low spot with sand and walking away buys you one wet season, maybe two, before it sinks again. If you’re planning a full rebuild rather than a spot repair, our Driveway & Pavers in Hialeah page walks through what a correct installation looks like from the ground up.
Rocking Pavers and the Base Layer Problem
Rocking – when a paver tilts like a seesaw underfoot – means the bedding sand has migrated out from under that unit. That migration almost never happens in a well-built driveway. It happens when edge restraint is missing or weak, when joint sand has washed out, or when both conditions combine. The paver tells you the base layer has lost its support, and the rocking gets worse with traffic because each pass shifts the sand further.
The quickest test is to press down on one corner of a rocking paver. If it moves and the paver next to it doesn’t, the sand beneath has shifted. Check the edge of the driveway along the foundation, the street, and any walkway junction. Edge restraint that’s loose, cracked, or missing is the usual culprit.
Fixing it properly:
- Lift the rocking pavers and inspect the bedding sand underneath. If it’s thin or absent, that’s your confirmation.
- Reset the pavers on a fresh, screeded bed of sand, then re-compact.
- Inspect and repair the edge restraint. If it’s flexible plastic that’s pulled loose, reset or replace it.
- Refill joints fully – not just at the surface – and compact again to lock the sand in place.
If you’re seeing rocking along an entire edge, the restraint failed at the perimeter. That’s a different repair than a single loose paver, and it’s worth having someone look before it spreads inward. In older Hialeah neighborhoods with mature landscaping, tree roots often push against the edge restraint and accelerate this failure.
Cracked Pavers: Stress, Traffic, and What It Signals
Cracked pavers are almost always a stress issue, not a material defect. The question is whether the stress came from an uneven base, a paver too thin for the load, or something heavier than the driveway was built for. A paver laid on a flat, well-compacted base rarely cracks under normal residential traffic. One laid over a high spot or a void will crack exactly where the base undulates.
Diagnose the crack before you replace the paver:
- Crack runs through the middle of a paver and continues into the neighbors: likely a base high spot or low spot creating a hinge point. Replacing the paver alone won’t fix it.
- Crack is a single paver, isolated: often a manufacturing flaw or a paver that got hit. Swap it out.
- Cracks appear along the edge next to the street or apron: check whether the paver was cut too thin, or whether an edge restraint is missing.
If you’re seeing repeated cracking in the same place, don’t keep replacing pavers. The base is telling you it needs attention. This is where a short conversation with a professional saves you money – a targeted repair to that section is far cheaper than replacing pavers one at a time every year.
Efflorescence: The White Haze That Isn’t Damage
Efflorescence is a white, powdery deposit that appears on the surface of concrete pavers, and in most cases it’s cosmetic rather than structural. It forms when water moves through the paver, dissolves mineral salts, and carries them to the surface where the water evaporates. In Hialeah’s humid climate, with frequent rain and high year-round moisture, efflorescence shows up more often than in drier markets.
What matters is why the moisture is moving. A paver that’s fully sealed and properly based sheds water at the surface. One with a poor base traps water underneath, and that moisture finds its way up through the paver. So efflorescence can be both a cosmetic nuisance and a mild clue that drainage isn’t working the way it should.
How to handle it:
- Don’t panic and don’t scrub hard. Aggressive cleaning can damage the paver surface.
- Start with a stiff brush and a mild efflorescence cleaner designed for pavers.
- Check drainage. If water is pooling near the driveway during rain, that’s the real issue.
- Sealing after the efflorescence is removed helps, but sealing over an unresolved drainage problem only traps moisture in.
If the haze returns within weeks of cleaning, the water is still moving. That’s a sign to look at the base and grading, not just the surface.
Weed and Ant Intrusion: Why DIY Sand Makes It Worse
Weeds and ants coming up through joints are a sign that the joint sand is too shallow, the wrong type, or missing entirely. Polymeric sand is the standard fix because it hardens in the joint and resists washout, but it fails when the joint depth isn’t corrected first. That’s the trap: homeowners sweep polymeric sand into shallow joints, it sets on top of dirt and old sand, rains lift it, and the weeds and ants come back with more room than before.
The right sequence for joint sand repair:
- Remove the old sand to a consistent depth – the joint should be filled and left with roughly an eighth inch of space below the paver surface so the sand can lock.
- Clean out weed roots and ant nests. Ant colonies move sand and undermine the joint from below – treating just the surface doesn’t stop them.
- Apply the polymeric sand per the manufacturer. Sweep into joints, blow off excess, and activate with a light mist of water.
- Stay off the surface until it cures, per the label, so the sand bonds instead of washing out.
Hialeah’s ant pressure is real, especially in wet months. If you see small mounds of sand being pushed up between pavers, you have an active colony. A professional can treat the underlying issue and correct the joint depth in one visit. If you also have fencing or hardscaping along the driveway, our Fence Installation in Hialeah page covers the same drainage and base principles along the property line.
Cosmetic vs. Structural: How to Tell the Difference
The single most valuable skill in paver troubleshooting is telling cosmetic surface problems from structural base problems. The fix is completely different, and treating one as the other wastes money. Cosmetic issues live at the surface and can be cleaned, sealed, or patched. Structural issues live underneath and require pulling the affected section to fix properly.
A quick field test:
- Walk the surface in socks or soft shoes. Any rocking or shifting underfoot is structural.
- Lay a straightedge across the driveway. A dip or high spot more than a quarter inch over a few feet is a base issue.
- Check drainage during rain. Standing water that lingers for more than a few hours is a grading or base problem, not a surface one.
- Look at the joints. Wide, gaping joints with sand washing out point to a base that’s moving.
- Note the timeline. Problems that appear within the first two years almost always point to installation; problems that appear after a decade of stable service are usually wear or freeze-thaw or root intrusion.
Cosmetic issues include surface staining, efflorescence haze, and minor wear. Structural issues include sinking, rocking, spreading, and joint washout. Fixing a cosmetic problem with a structural repair wastes money; fixing a structural problem with a cosmetic fix is a temporary patch that gets worse.
When to Repair a Section vs. Replace It
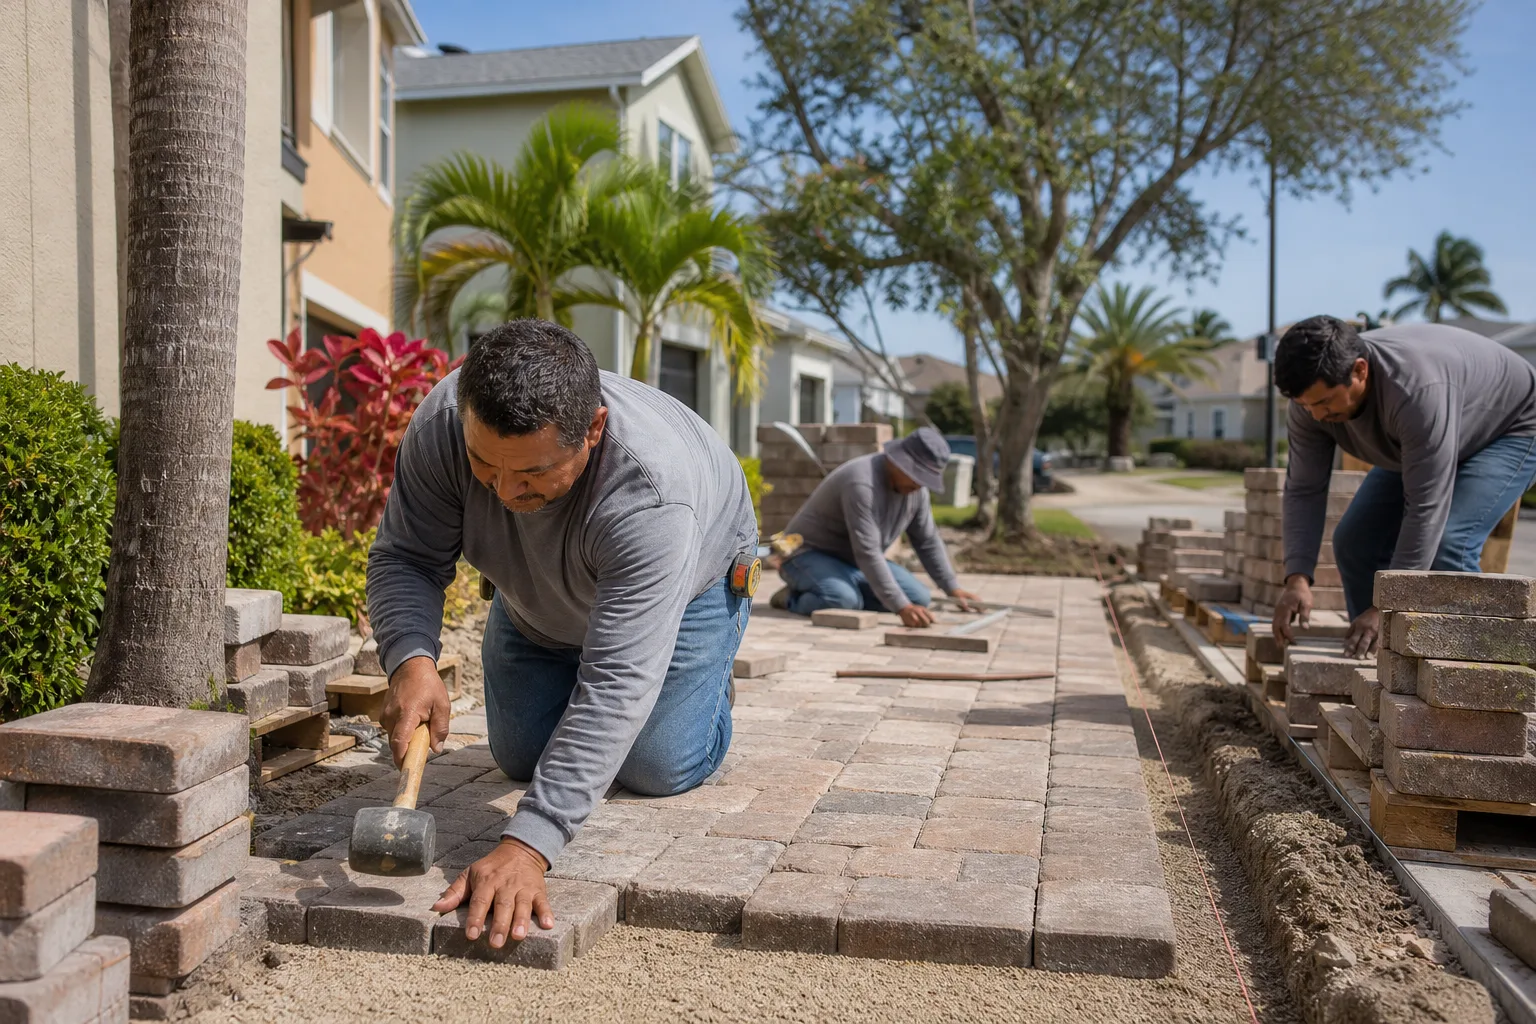
A targeted repair is the right call when the failure is contained to one section, the surrounding pavers are stable, and the base immediately around the section is sound. Replacing a whole driveway to fix a five-square-foot sink is unnecessary. The repair approach – lift, rebuild the base in compacted lifts, reset, re-sand, re-compact – is a valid long-term fix when done correctly.
A full section replacement is the right call when:
- The failure spans multiple sections and the underlying base has settled across the whole area.
- Drainage is causing repeated problems and grading can’t be corrected without rebuilding.
- The driveway is old enough that the failure is systemic – widespread settling, multiple cracking points, widespread joint washout.
- Tree roots have pushed up a large section and underground root correction is needed.
The general rule: if the failure is one localized pocket, repair it. If the failure is a pattern, the base is the pattern and it needs a proper rebuild. When a homeowner in Hialeah calls us after a repair fails, it’s almost always because someone sand-patched a structural problem instead of rebuilding the base. Fix the cause once, correctly, and it holds.
Common Mistakes to Avoid
- Sand-patching a sink. Lifting a sunken paver and adding sand underneath doesn’t fix the base void. It’ll sink again by the next wet season.
- Applying polymeric sand over shallow joints. If the joint isn’t deep enough, the sand sets on dirt, rains lift it, and weeds return worse.
- Ignoring edge restraint. A driveway without proper edge restraint will spread at the perimeter. Fixing the pavers without fixing the restraint is temporary.
- Sealing before drainage is corrected. Sealing a driveway that traps water holds moisture in and can worsen efflorescence and joint problems.
- Replacing one paver without diagnosing why it failed. If the paver cracked because the base was uneven, a replacement will crack too.
- Skipping compaction during a repair. Hialeah’s soil and moisture demand a properly compacted base. Hand-tamping a repair patch never lasts like a plate compactor does.
- Treating ants at the surface only. Ant colonies push sand up between pavers. Surface treatment doesn’t stop the colony and the joints loosen back up.
See the difference
 Before
 After
 Before
 After
 Before
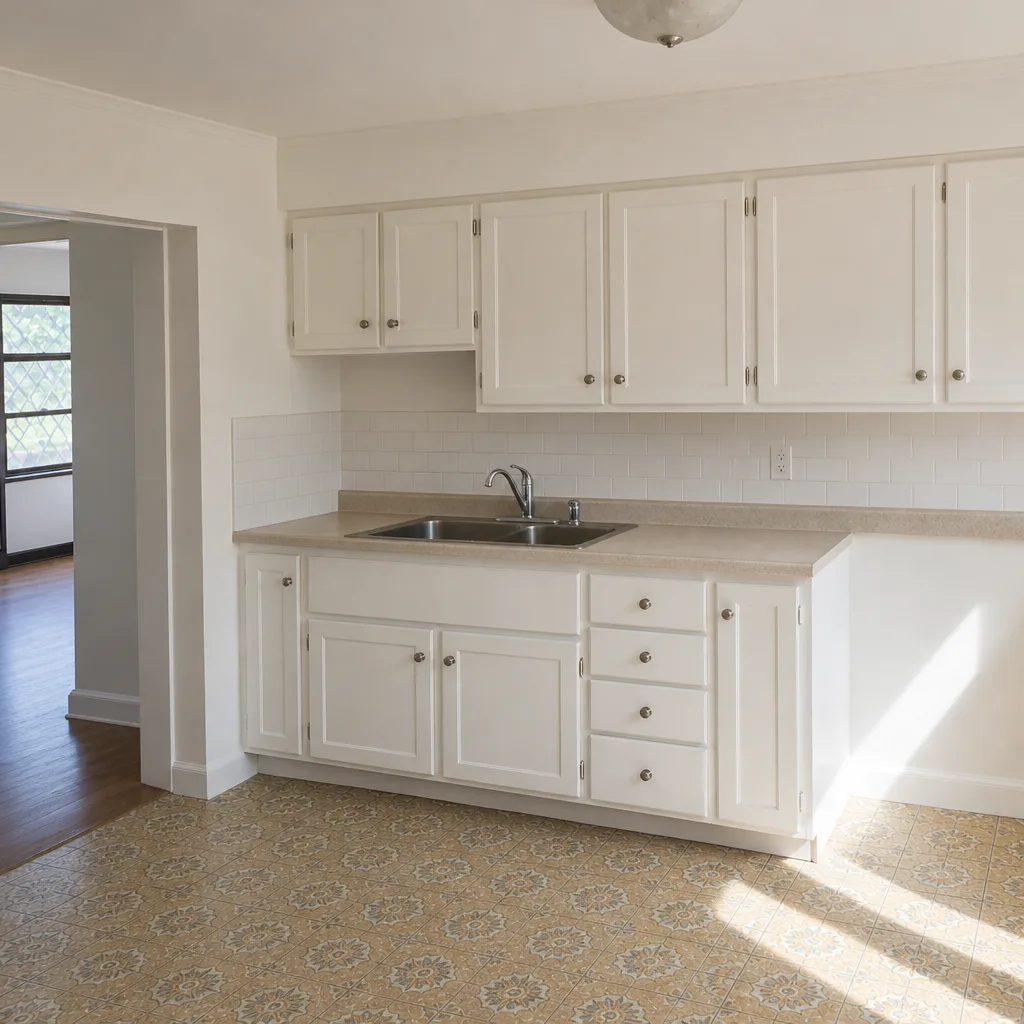 After
When to Call a Professional
Some repairs are genuinely DIY-friendly – cleaning efflorescence, refilling a single shallow joint, replacing one cracked paver. Others are not. If your driveway has widespread settling, a pattern of cracking in the same place, drainage that pools water for days after rain, or a sinking section that keeps coming back after a repair, that’s structural. It needs the base pulled and rebuilt correctly. A pro will diagnose the cause, rebuild in compacted lifts, and confirm drainage and edge restraint are correct before the surface goes back down.
Groundwork Construction Co. of Hialeah offers free estimates in Hialeah. Our technicians have up to 12 years of experience and every project is covered by our 730-Day Done Right Promise, so if it’s not done right, we make it right. Call (888) 418-7102 to schedule your free estimate.
Frequently Asked Questions
Pavers that sink within the first two years almost always had a base that wasn’t dug deep enough or wasn’t compacted in proper lifts. It’s an installation issue, not a paver defect. In Hialeah, our high water table makes an under-built base fail faster than it would in drier markets. Call (888) 418-7102 for an exact quote on a repair; estimates are free.
Adding sand to a low spot is a temporary patch that almost always fails within a season or two. The right fix is to lift the pavers, address the base underneath in compacted lifts, screed the bedding sand to a uniform depth, then reset and re-compact. If the low spot keeps coming back, the base is the cause.
White, powdery stains on pavers are efflorescence – mineral salts carried to the surface by moisture. In most cases it’s cosmetic, but repeated efflorescence is a clue that moisture is moving through the pavers, which can indicate a drainage or base issue worth checking. Clean it with a paver-safe efflorescence cleaner, then look at drainage.
Cost varies with the size of the affected section and whether the base needs rebuilding, but a targeted repair to a small section is significantly less than a full rebuild. We give written line-item pricing upfront so the number you see is the number you pay. Call (888) 418-7102 for an exact quote; estimates are free.
Weeds return when the joint sand is too shallow, the wrong type, or hasn’t been packed deep enough – polymeric sand applied over shallow joints sets on old dirt and fails. The joint must be cleaned to a consistent depth before new sand goes in. Fixing the depth is what stops the cycle. Call (888) 418-7102 to have it diagnosed.
Yes. Groundwork Construction Co. of Hialeah offers free estimates on paver repair and replacement, with upfront pricing and no surprises. Our technicians are background-checked and arrive in uniform, and all projects are covered by the 730-Day Done Right Promise. Call (888) 418-7102 to schedule.
The Bottom Line
Most driveway paver problems aren’t bad luck – they’re predictable symptoms of one of five installation mistakes: base depth, base compaction, edge restraint, joint sand depth, or drainage. Diagnose the cause before you spend a dollar on a fix. Cosmetic issues can be addressed at the surface; structural issues need the affected section pulled and rebuilt on a proper base. If you’re unsure which you have, the straightedge test and a walk in soft shoes will tell you in five minutes. And if a repair keeps coming back, the base is the cause. Fix it once, correctly, and it holds.
When you’re ready to have your driveway diagnosed and repaired by a team that puts it in writing, our Groundwork Construction Co. of Hialeah home page is the place to start. If a repair turns into a larger rebuild that touches your entryway or garage access, our Home Additions & ADU in Hialeah team works alongside our hardscape crews on grading and drainage corrections. We use GAF, CertainTeed, and Owens Corning materials on the roofing side and apply the same standard to hardscape – built to last, backed in writing.
Ready to fix your driveway the right way? Call (888) 418-7102 for a free estimate. We answer every call with a live person 24/7, our technicians have up to 12 years of experience, and every project is backed by the 730-Day Done Right Promise. Upfront pricing, no surprises – and $1,000 off projects over $10,000 with 0% financing for 18 months available.
Written by the team at Groundwork Construction Co. of Hialeah.